
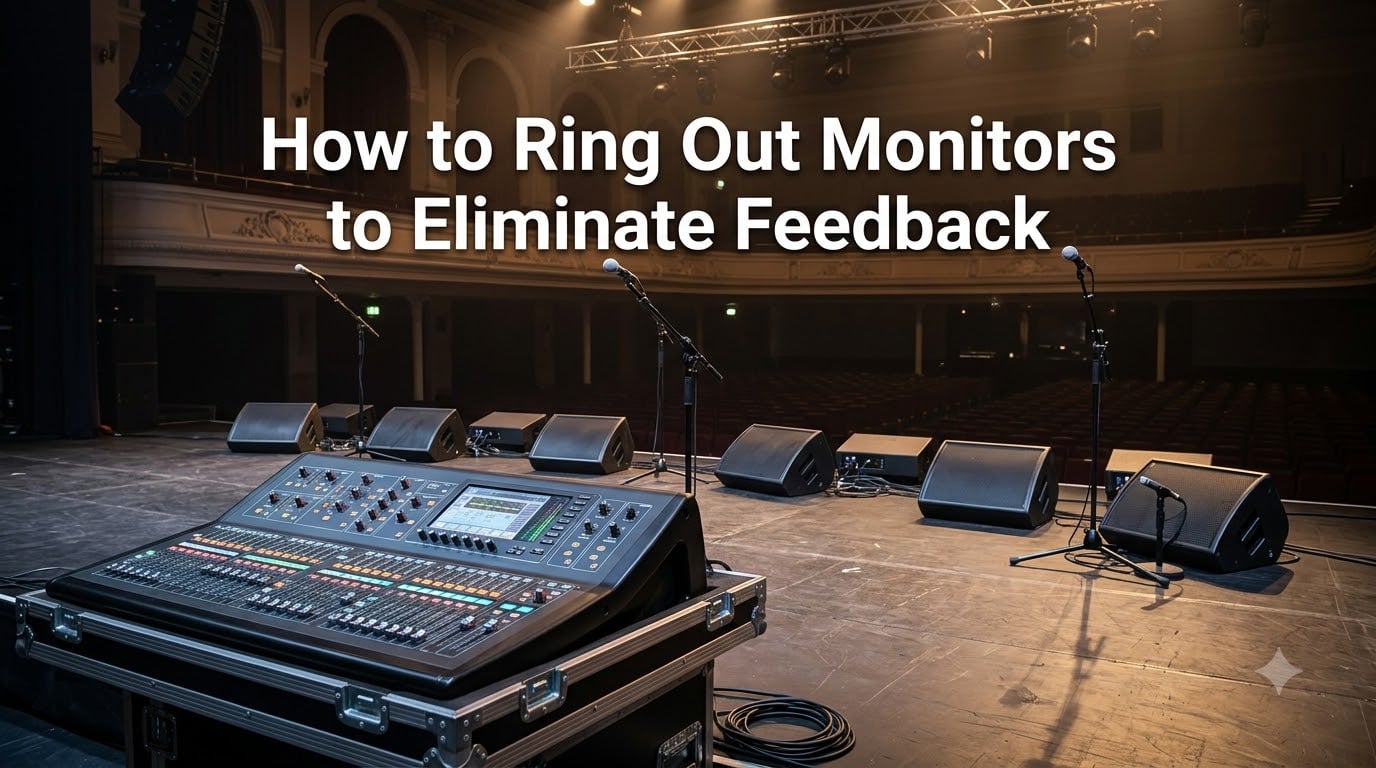
Learning how to ring out monitors to eliminate feedback is one of those skills that separates a frustrating live show from a clean, professional performance. I picked it up the hard way during a Saturday night gig in a 200-seat venue, when my wedge screamed at 1.2kHz right before the lead singer stepped to the mic. That moment sent me down a rabbit hole of EQ theory, RTA apps, and old-school sound engineer tricks. In this guide, I will walk you through the exact process I use at every sound check now, plus the little details most articles skip.
If you have ever lost a song to a howl of feedback, wrestled with a guitarist who insists his monitor needs to be louder, or wondered why one venue fights you while another behaves, this guide is for you. We will cover what ringing out actually means, why it works, the exact step-by-step process, and a few pro tricks I learned from senior engineers who never get feedback on stage.
Table of Contents
What Is Ringing Out Monitors and Why Does It Eliminate Feedback
Ringing out monitors is the process of intentionally pushing your stage monitors into feedback at a low volume to find and cut the specific frequencies that want to oscillate. Once you identify those problem frequencies with an equalizer, you reduce them just enough to stop the loop, then back off the master volume slightly. The result is a monitor mix that can run significantly louder before any feedback reappears.
The technical term for this is maximizing “gain before feedback.” Gain before feedback is the amount of volume you can push your monitor before the loop between microphone and speaker becomes self-sustaining. Every mic-to-speaker path has natural resonant frequencies caused by room acoustics, mic placement, and speaker dispersion. Those frequencies feed back faster than the rest. Ringing out finds them on purpose, while you are in control, instead of finding them by accident during a song.
Why Ringing Out Monitors Matters Before Every Show
Feedback during a show is more than annoying. It can blow a tweeter, scare a vocalist, and break the trust of a band who hired you to make them sound great. I learned this the night a feedback peak hit 126 dB at the vocal mic and briefly clipped a condenser mic two feet away. The drummer pulled his earplugs and asked if we had lost the PA.
Ringing out stabilizes the system so you have predictable headroom. Headroom means the extra dB of clean volume available above your normal operating level. When you ring out properly, you typically gain 6 to 10 dB of headroom on each monitor send. That extra volume is what lets a performer ask for “just a little more me” without sending the rig into oscillation. It also helps you recover fast if a guitarist suddenly turns his amp to 11 or a backing vocalist wanders in front of a wedge.
Another reason it matters: every room sounds different. The acoustic profile of a 100-cap coffee house is nothing like a 500-seat church or a high-ceiling barn venue. By ringing out at each new venue, you adapt the system to that specific space, mic stand, and wedge angle.
Step-by-Step Guide: How to Ring Out Monitors to Eliminate Feedback
The process below is the same five-step method I have used on over 300 live shows. It works for floor wedges, side fills, and drum monitors. Adapt the volume levels based on your mixer’s clip lights and your ears.
Step 1: Set Up a Level Playing Field
Start every monitor ring-out with the channel EQ flat, the graphic or parametric EQ flat (all sliders at 0 dB), and the aux send at unity gain. Unity gain means the fader sits at the 0 mark, sending signal through without boosting or cutting. Make sure the mic is on its stand in the position the performer will use it, not on a chair or a stand at the wrong height. Speaker placement matters too. The wedge should be aimed at the singer’s ear from roughly 18 to 24 inches away, not pointed at the mic.
Step 2: Bring Up the Monitor Until Feedback Starts
Slowly raise the monitor send for the mic you are ringing out. I use a steady hand and stop as soon as I hear the first clear, sustained tone of feedback. Do not push all the way to full volume. Stop at the first sustained ring. If you push too hard, you will excite multiple frequencies at once, which makes them harder to isolate. If you are ringing out at a sensitive venue or during a sound check where quiet matters, use the “quiet ringing out” technique I describe in the pro tips section below.
Step 3: Identify the Problem Frequency
Listen carefully. Feedback usually sounds like a clean, musical note at a single frequency. Common problem frequencies sit between 250 Hz and 4 kHz, with hot spots around 400 Hz, 800 Hz, 1.2 kHz, 2 kHz, and 3 kHz. If you have an RTA app on a phone or tablet, watch the peak. Otherwise, train your ear by playing single-frequency tones from a signal generator app beforehand. Knowing the difference between 800 Hz and 1.2 kHz feedback saves real time on stage.
Step 4: Cut the Frequency With EQ
Using your graphic EQ or parametric EQ, cut the problem frequency. The general rule is to cut by 3 to 6 dB on a graphic EQ slider, or by 3 to 6 dB with a narrow Q on a parametric band. Use a narrow notch on the parametric EQ so you only cut the problem and leave neighboring frequencies alone. After the cut, the feedback should stop. If a different frequency starts feeding back, repeat the process. You will often find two or three problem frequencies per mic before the system gets stable.
Step 5: Repeat and Reset to the Performer’s Level
Once you have eliminated the first round of feedback, slowly bring the monitor back up. It will feed back again at a higher volume, just at a different frequency. Cut that one too. Repeat this loop two or three times per mic until the monitor sits a few dB above the level the performer actually needs. Then drop the monitor back down to the performer’s comfortable listening level. This final step is the secret. A small volume reduction after ringing out gives the singer the impression the monitor is now loud enough because the system is no longer fighting them.
Graphic EQ vs Parametric EQ for Ringing Out Monitors
Both graphic and parametric EQs can ring out monitors. Each has trade-offs that matter depending on your console and your experience.
A graphic EQ has fixed frequency bands, usually 15 or 31 bands at 1/3 octave intervals. The bands cannot be moved. This makes graphic EQs fast for techs who already know where feedback tends to live. A simple workflow is to boost a slider slightly to confirm you found the right frequency, then pull that slider down 3 to 6 dB. The visual feedback of seeing the slider set tells the next tech exactly what you did.
A parametric EQ lets you sweep the center frequency, adjust the bandwidth (called Q), and set the gain. This makes it easier to find the exact frequency and cut just that frequency without affecting neighbors. Most digital consoles now include a parametric EQ on every channel. Experienced engineers I have worked with tend to prefer parametric EQ for monitor ringing out because you can dial in a narrow, surgical notch that leaves the rest of the vocal untouched.
If you are a beginner or volunteer running an analog rig, start with a 31-band graphic EQ on the monitor send. If you have a digital console with parametric EQ available, use that for finer control. Many techs do both: a graphic EQ on the aux output for the broad cuts and a parametric EQ on the channel for the narrow notches.
Common Feedback Frequencies to Watch During Ringing Out
While every room is different, decades of live sound data show that certain frequencies feed back more often than others. Most monitor feedback lives between 250 Hz and 4 kHz. The vocal range and the high-mid resonance of most wedges overlap heavily in this band, which is why feedback screams rather than rumbles.
In my own gigs, the most frequent offenders sit at 400 Hz, 800 Hz, 1.2 kHz, 2 kHz, and 3 kHz. Low-frequency feedback around 80 to 200 Hz usually means a mic is too close to the wedge or the wedge is pointed at the mic. High-frequency feedback above 5 kHz often points to a stage lighting fixture or metal rack vibrating. If you are chasing a frequency outside the 250 Hz to 4 kHz range, check your physical setup before reaching for the EQ.
Pro Tips and Tricks for Ringing Out Monitors Like a Pro
After a few hundred shows, you start collecting tricks. These are the ones I share with newer techs on my crew.
Tip one, ring out with all performers on stage if possible. Empty rooms behave differently than rooms with bodies in them, and a vocalist standing where they will perform changes the acoustic picture. If you must ring out solo, ask one performer to stand in for the most sensitive mic during the process.
Tip two, use an RTA app to speed up the work. Free apps like Spectroid or paid tools like Smaart can show the peak frequency in real time. Watch the display as feedback starts and you will see the exact frequency on screen. This saves time, especially in loud rooms where ear identification is harder.
Tip three, use the “quiet ring-out” at sensitive venues. In a small theater, library, or house of worship where full-volume feedback would disturb people, ring out at a lower level. Cut the problem frequencies at 2 to 3 dB instead of 6 dB, and run the process two or three times. You will not get as much headroom, but you will still stabilize the system without causing noise complaints.
Tip four, manage the performer’s volume expectations. The classic reset trick works: if a singer keeps asking for more volume, ring out the monitor, then drop the master by 2 dB before they hear it. They will often say it now sounds perfect. Their brain hears clean, feedback-free sound as louder, even when the meter says otherwise.
Tip five, ring out each mic, not each wedge. Two vocalists on the same wedge usually means ringing out the louder mic first, then rechecking with both open. Ringing out the drum monitor focuses on the snare mic and the overheads, not the whole kit. Match your process to the source.
Tip six, write down your EQ settings for repeat venues. If you run sound at the same church or club every week, save the graphic EQ curve as a scene or take a phone photo. You will still ring out at each show because the room changes, but starting near last week’s curve cuts your work in half.
When to Consider In-Ear Monitors Instead of Wedges
Ringing out wedges is essential when wedges are the only option. But in-ear monitors (IEMs) eliminate the feedback path almost entirely because the mic is not in front of a speaker. If your band or venue can afford them, IEMs solve 90% of feedback problems before you touch an EQ. They also protect hearing and let the performer hear a custom mix at any volume.
That said, wedges are still everywhere. Many performers prefer the physical feel of a wedge in front of them, and small venues rarely have the budget for a full IEM rig. That is why knowing how to ring out monitors remains a core live sound skill.
FAQs
How do you ring out a monitor?
To ring out a monitor, start with all EQs flat and the aux send at unity gain. Slowly raise the monitor send until you hear sustained feedback, identify the problem frequency by ear or with an RTA app, then cut that frequency by 3 to 6 dB using a graphic or parametric EQ. Repeat the process until the monitor sits a few dB above the level the performer actually needs, then lower the master send to a comfortable listening volume.
How do you prevent feedback from stage monitors?
Prevent monitor feedback by ringing out the system before every show, using proper mic technique, aiming wedges away from mics, and keeping the mic 18 to 24 inches from the speaker. Combine ringing out with the 3:1 rule for mic placement, and consider in-ear monitors for high-volume stages where wedges cause repeated feedback.
What is the 83% rule for speakers?
The 83% rule is a guideline that says you should set the master volume of your PA or monitor to about 83% of its maximum during normal operation. This leaves roughly 17% of headroom above your working level for unexpected peaks, signal boosts from the performer, or feedback margin. Running at 83% keeps the system out of the distortion zone where feedback and clipping become much harder to control.
What is the 3 to 1 rule in micing?
The 3 to 1 rule in micing says that when multiple microphones are open at once, the distance between any two mics should be at least three times the distance from each mic to its own sound source. For example, if a vocalist is 6 inches from her mic, the next closest open mic should be at least 18 inches away. This minimizes phase cancellation and comb filtering, which both increase the risk of feedback in monitors.
Should I ring out monitors at every gig?
Yes, ring out monitors at every gig. Even small changes in room acoustics, performer position, mic stand height, or wedge angle will shift which frequencies feed back. A 60-second ring-out per monitor mix gives you consistent headroom and prevents the embarrassing howl that ends a song early.
What is gain before feedback?
Gain before feedback is the highest volume level you can push a monitor or PA before the loop between the microphone and the speaker becomes self-sustaining. Ringing out monitors raises the gain before feedback by cutting the specific frequencies that want to oscillate, allowing the system to run louder and cleaner.
Final Thoughts on How to Ring Out Monitors to Eliminate Feedback
Ringing out monitors is one of the highest-leverage skills a live sound engineer can learn. A clean 60-second ring-out at every sound check buys you 6 to 10 dB of headroom, removes the feedback peaks that ruin songs, and gives performers the volume they ask for without the system fighting back. Start with all EQs flat, slowly raise the monitor send until feedback appears, identify the problem frequency, cut it 3 to 6 dB, and repeat. Finish by lowering the monitor to the performer’s preferred level.
If you want to go deeper, practice the quiet ring-out technique at smaller venues, try a free RTA app on your phone to train your ear, and save your EQ settings for each venue you return to. After a few shows of disciplined ringing out, you will find your monitors sit comfortably loud, your performers stop complaining, and your shows stay free of that awful howl.