
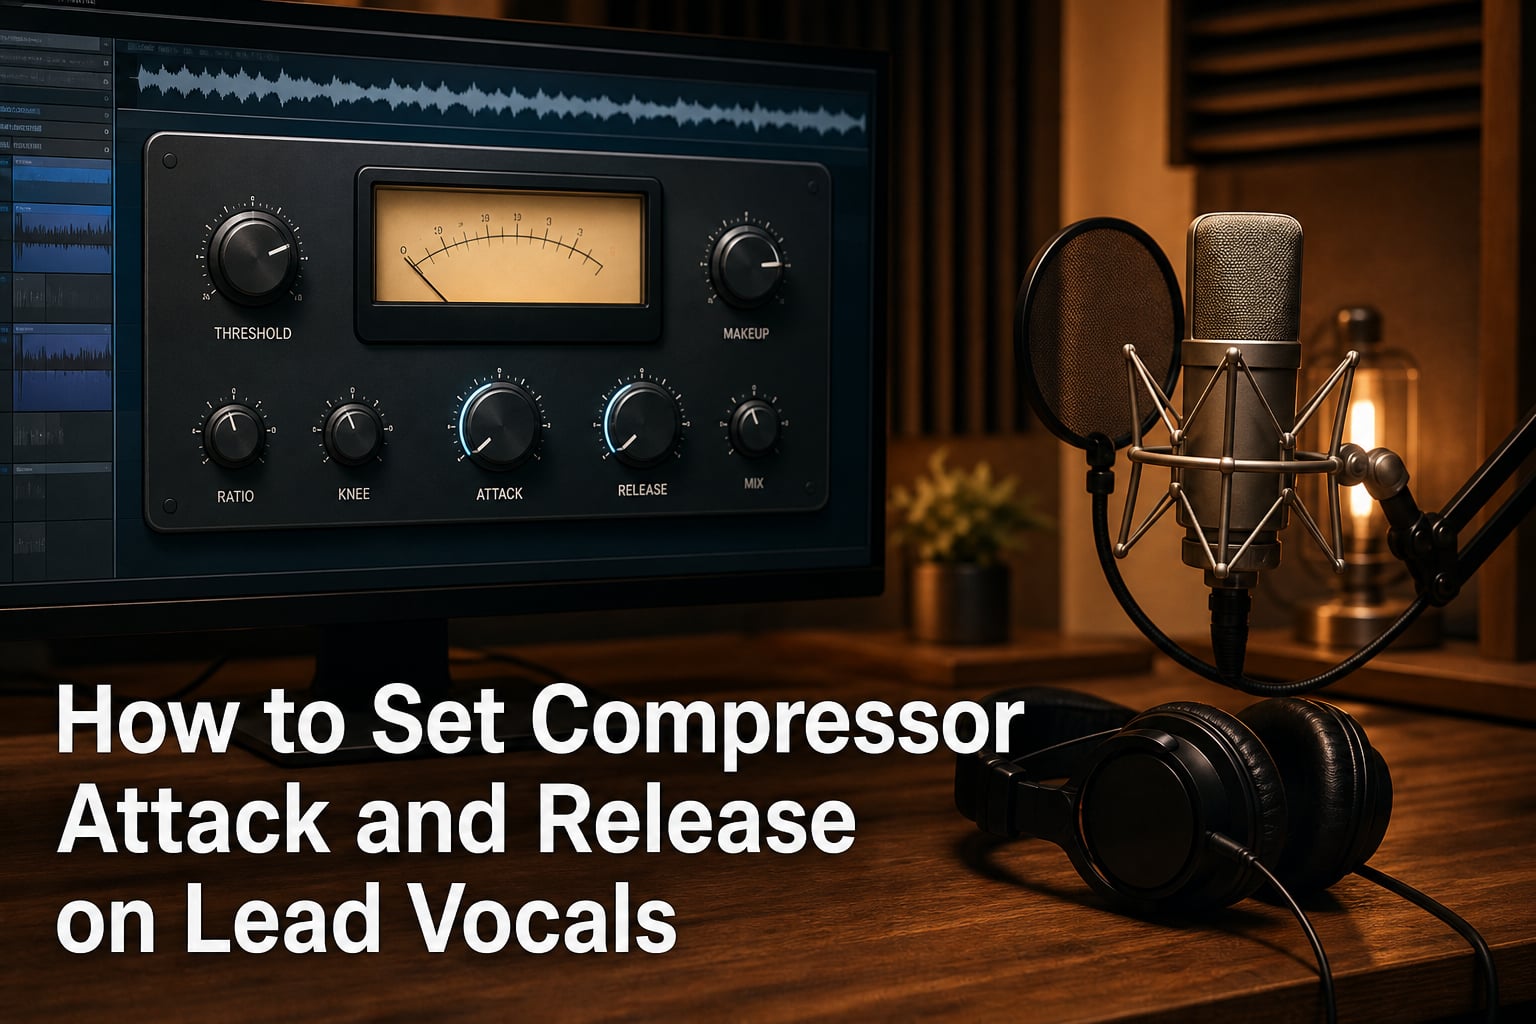
Setting compressor attack and release on lead vocals is the single biggest factor in getting a vocal that sounds controlled but still alive. For most lead vocals, a great starting point is an attack of 20-40ms and a release of 100-200ms. These two controls decide whether your vocal sits naturally in the mix or sounds squashed, pumping, or dull.
I have spent years mixing vocals in home and project studios, and I remember how confusing attack and release felt at first. The settings seem invisible until you train your ears to hear them. Once you understand what each control does, dialing in lead vocal compression becomes one of the fastest and most satisfying parts of mixing.
This guide walks through exactly how to set compressor attack and release on lead vocals. You will learn what each control does, recommended starting settings, how to adjust by ear, genre-specific recommendations, and common mistakes to avoid.
Table of Contents
What Attack and Release Do on a Vocal Compressor
Attack and release are timing controls on a compressor. They determine how quickly the compressor reacts when your lead vocal crosses the threshold.
Attack is how fast the compressor engages once the signal gets loud. Measured in milliseconds, a fast attack (1-10ms) clamps down almost instantly, while a slow attack (30-100ms) lets the initial transient through before compression kicks in.
Release is how fast the compressor lets go after the signal drops back below the threshold. A fast release (30-100ms) recovers quickly between words, while a slow release (200-500ms) holds onto the compression longer for a smoother, more even sound.
On lead vocals, these two controls shape the entire feel of the performance. Get them right and the vocal feels glued to the track. Get them wrong and the vocal either sounds flat and lifeless or pumps and breathes in an obvious, distracting way.
Recommended Starting Settings for Lead Vocals
If you want a reliable starting point for how to set compressor attack and release on lead vocals, try these values:
Attack: 20-40ms (moderately fast)
Release: 100-200ms (moderate)
Ratio: 3:1 to 4:1
Threshold: set for 3-6dB of gain reduction on the loudest parts
Make-up gain: match the loudest peaks before and after compression
These settings give you transparent compression that controls the loudest peaks without squashing the life out of the vocal. From here, you adjust by ear based on the singer, the genre, and what the mix needs.
A forum user on r/audioengineering shared a similar approach: “I use about 1ms attack, 200-300ms release, and around 8dB gain reduction on average.” That works for aggressive control. The 20-40ms attack range I recommend above is safer if you want to preserve natural vocal character.
How to Set Attack by Ear on Lead Vocals
The fastest way to learn attack is to push it to extremes and listen. Here is the step-by-step process I use on every lead vocal.
Step 1: Set your release to a moderate 150ms and your ratio to 4:1. This gives you a stable reference point while you focus on attack alone.
Step 2: Set the attack as fast as it goes (often 0.1 or 1ms). Listen to the vocal. You will hear consonants like “t” and “k” get softened and the vocal may sound slightly dull or closed off. This is the sound of transients being tamed.
Step 3: Now set the attack as slow as it goes (50-100ms). Listen again. The vocal should sound more open and present at the start of each phrase, but harsh sibilance and loud peaks may punch through uncontrolled.
Step 4: Slowly sweep the attack back toward fast until you find the point where peaks are controlled but the vocal still feels alive. For most lead vocals, this lands between 10 and 40ms. You are listening for the sweet spot where the front of each word has presence without harshness.
A moderately fast attack around 20ms preserves the intelligibility of consonants while still catching the peaks. If the vocal feels dull, slow the attack. If plosives and sibilance are too aggressive, speed it up.
How to Set Release by Ear on Lead Vocals
Release is where most beginners go wrong. Set it too fast and you hear pumping. Set it too slow and the vocal sounds flat. Here is how to find the right setting.
Step 1: Keep your attack where you set it in the previous step. Set the threshold for 4-5dB of gain reduction on loud phrases.
Step 2: Set the release as fast as it goes (around 30ms). Listen carefully. If you hear the volume jumping back up between words in an obvious, breathing pattern, your release is too fast. This is called pumping.
Step 3: Set the release as slow as it goes (500ms or more). Now the compression holds on too long and the vocal sounds flat, small, or lifeless. The quiet words stay buried because the compressor never recovers.
Step 4: Sweep the release faster until the gain reduction meter recovers roughly to zero between phrases. A Reddit user described this perfectly: “Set the release just so the compressor can recover fast enough to let through the next word.” Start around 100ms and adjust.
The goal is a release that recovers naturally with the rhythm of the vocal. When set right, the compression feels invisible. You hear consistent level without any pumping artifacts.
How Threshold and Ratio Interact With Attack and Release
Attack and release do not work in isolation. Threshold and ratio determine how much compression happens, and that amount changes how attack and release feel.
Threshold sets the point where compression begins. A lower threshold means more of the vocal gets compressed, which makes attack and release effects more noticeable. For lead vocals, aim for 3-6dB of gain reduction on the loudest phrases. Watch the gain reduction meter while the vocal plays.
Ratio sets how aggressively the compressor reduces volume above the threshold. A 4:1 ratio means anything 4dB over the threshold gets reduced to 1dB over. Higher ratios like 8:1 or 10:1 create aggressive, noticeable compression often used for rap and rock vocals. Lower ratios like 2:1 or 3:1 sound more transparent and natural.
When you increase gain reduction by lowering the threshold, your release setting becomes more critical. More compression means the release is more audible. If you are compressing 8-10dB, you may need a slower release to avoid pumping. At 3-4dB, a faster release usually works fine.
Always set make-up gain last. Match the output level so the compressed vocal is roughly the same loudness as the uncompressed signal. This lets you A/B test fairly without loudness fooling your ears.
Genre-Specific Settings for Lead Vocals
No single setting works for every genre. The vocal’s role in the mix changes what attack and release should do.
Pop vocals: Attack 10-20ms, release 100-150ms, ratio 3:1 to 4:1. Pop vocals need to sit upfront and consistent. A faster attack smooths out the performance while keeping it natural.
Rock vocals: Attack 5-15ms, release 80-150ms, ratio 4:1 to 6:1. Rock vocals often need more aggression. A faster attack and higher ratio create the controlled, in-your-face sound that cuts through dense guitar mixes.
Rap vocals: Attack 1-10ms, release 50-150ms, ratio 4:1 to 8:1. Rap demands upfront, punchy vocals with tight control. A fast attack catches the rapid dynamic changes of rhythmic delivery. Many engineers use 6-10dB of gain reduction here.
R&B vocals: Attack 15-30ms, release 150-250ms, ratio 3:1. R&B vocals need smoothness and sustain. A slower release lets the compression breathe naturally with the melodic phrasing.
Acoustic and folk vocals: Attack 30-50ms, release 200-300ms, ratio 2:1 to 3:1. These genres call for transparent compression that preserves the natural dynamics of the performance. Use less gain reduction, around 2-3dB.
Lead Vocals vs Backing Vocals: Key Differences
None of the top-ranking articles cover this, but it matters a lot when you are mixing a full vocal arrangement.
Lead vocals need to stay upfront and dynamic. You use moderate settings that preserve character while controlling peaks. The goal is natural-sounding compression that the listener never notices.
Backing vocals serve a different role. They sit behind the lead and need to be consistent and blended. Use a faster attack (5-15ms), faster release (50-100ms), and higher ratio (4:1 to 6:1). You can safely compress backing vocals harder because they are not the focal point.
A common approach is to compress backing vocals aggressively and leave the lead more open. This creates a natural depth where the lead feels closer and more intimate while the backing vocals fill space behind it.
Common Mistakes and How to Avoid Them
Several recurring problems come up again and again on audio forums. Here is how to fix them.
Pumping and breathing: Your release is too fast. The compressor grabs and releases in time with the vocal, creating an obvious volume pulsing. Slow the release until the artifact disappears. Start at 150ms and adjust.
Dull, lifeless vocal: Your attack is too fast and your release is too slow. The compressor is squashing transients and never recovering. Speed up the release to 100ms and slow the attack to 30ms. Listen for the vocal opening back up.
Harsh peaks still getting through: Your attack is too slow or your ratio is too low. Speed up the attack to 10ms or raise the ratio to 6:1. Watch the gain reduction meter to confirm peaks are being caught.
Over-compressed sound: You have too much gain reduction. Back off the threshold until you see 3-5dB on the meter. If you need more control, consider serial compression instead of crushing the vocal with one compressor.
Not A/B testing: Always compare compressed and uncompressed signal at matched loudness. Loudness tricks your brain into thinking louder is better. Match make-up gain and toggle the bypass frequently.
Serial Compression: A Two-Stage Approach
Serial compression means using two compressors in series instead of one. This is a popular technique among experienced engineers for getting natural, controlled lead vocals.
Stage one: Use a compressor with a fast attack (2-10ms), fast release (50-100ms), and low ratio (2:1). Set the threshold for just 2-3dB of gain reduction. This catches transient peaks gently.
Stage two: Follow with a compressor set to a moderate attack (20-30ms), slower release (150-250ms), and ratio of 3:1 to 4:1. Aim for another 2-3dB of gain reduction. This handles the overall leveling.
The result is 4-6dB of total control spread across two stages. Because neither compressor works too hard, the vocal sounds natural and glued without the artifacts that come from pushing one compressor hard.
This approach works especially well on dynamic vocals that move between soft verses and loud choruses. Each compressor handles a different part of the dynamic range.
Quick Settings Cheat Sheet
Here is a fast reference for common lead vocal scenarios. Use these as starting points and adjust by ear.
Natural pop vocal: Attack 20ms, release 150ms, ratio 3:1, 3-5dB GR
Aggressive rock vocal: Attack 10ms, release 100ms, ratio 6:1, 5-7dB GR
Upfront rap vocal: Attack 5ms, release 80ms, ratio 6:1, 6-10dB GR
Smooth R&B vocal: Attack 20ms, release 200ms, ratio 3:1, 3-5dB GR
Transparent acoustic vocal: Attack 40ms, release 250ms, ratio 2:1, 2-3dB GR
Backing vocals: Attack 10ms, release 80ms, ratio 5:1, 5-8dB GR
FAQs
What is the best compression setting for lead vocals?
A strong starting point for lead vocals is 20-40ms attack, 100-200ms release, a ratio of 3:1 to 4:1, and 3-6dB of gain reduction on the loudest phrases. Adjust by ear from there based on the genre and the singer.
How do I use attack and release on a compressor?
Attack controls how fast the compressor engages when the signal crosses the threshold. Release controls how fast it lets go. Set attack moderately fast (20ms) to control peaks while preserving vocal character, then set release so the gain reduction meter recovers between phrases, usually around 100-200ms.
What is the best compression attack time for vocals?
For most lead vocals, an attack time of 10-40ms works well. Faster attacks (1-10ms) catch peaks aggressively and suit rap or rock. Slower attacks (30-50ms) preserve natural transients and suit acoustic or folk vocals.
How do I set the release so compression sounds musical?
Set the release so the gain reduction meter returns close to zero between words and phrases. Start at 150ms and listen. If you hear pumping, slow it down. If the vocal sounds flat and lifeless, speed it up. The goal is recovery that follows the natural rhythm of the performance.
Why does my vocal compressor pump?
Pumping happens when the release is too fast. The compressor grabs and releases in time with the vocal, creating an obvious volume fluctuation. Slow the release to 150ms or higher until the artifact disappears.
Should I use auto attack and release or set them manually?
Auto mode works well for quick results and live mixing. For studio lead vocals, manual settings give you more control and a more intentional sound. Start manual, and use auto mode as a reference if you get stuck.
Conclusion
Learning how to set compressor attack and release on lead vocals comes down to two things: knowing the starting ranges and training your ears to hear what each control does. Start with 20-40ms attack and 100-200ms release, then adjust by ear using the steps in this guide. Match make-up gain, A/B test constantly, and trust what you hear over any specific number. The right setting is always the one that serves the song.