
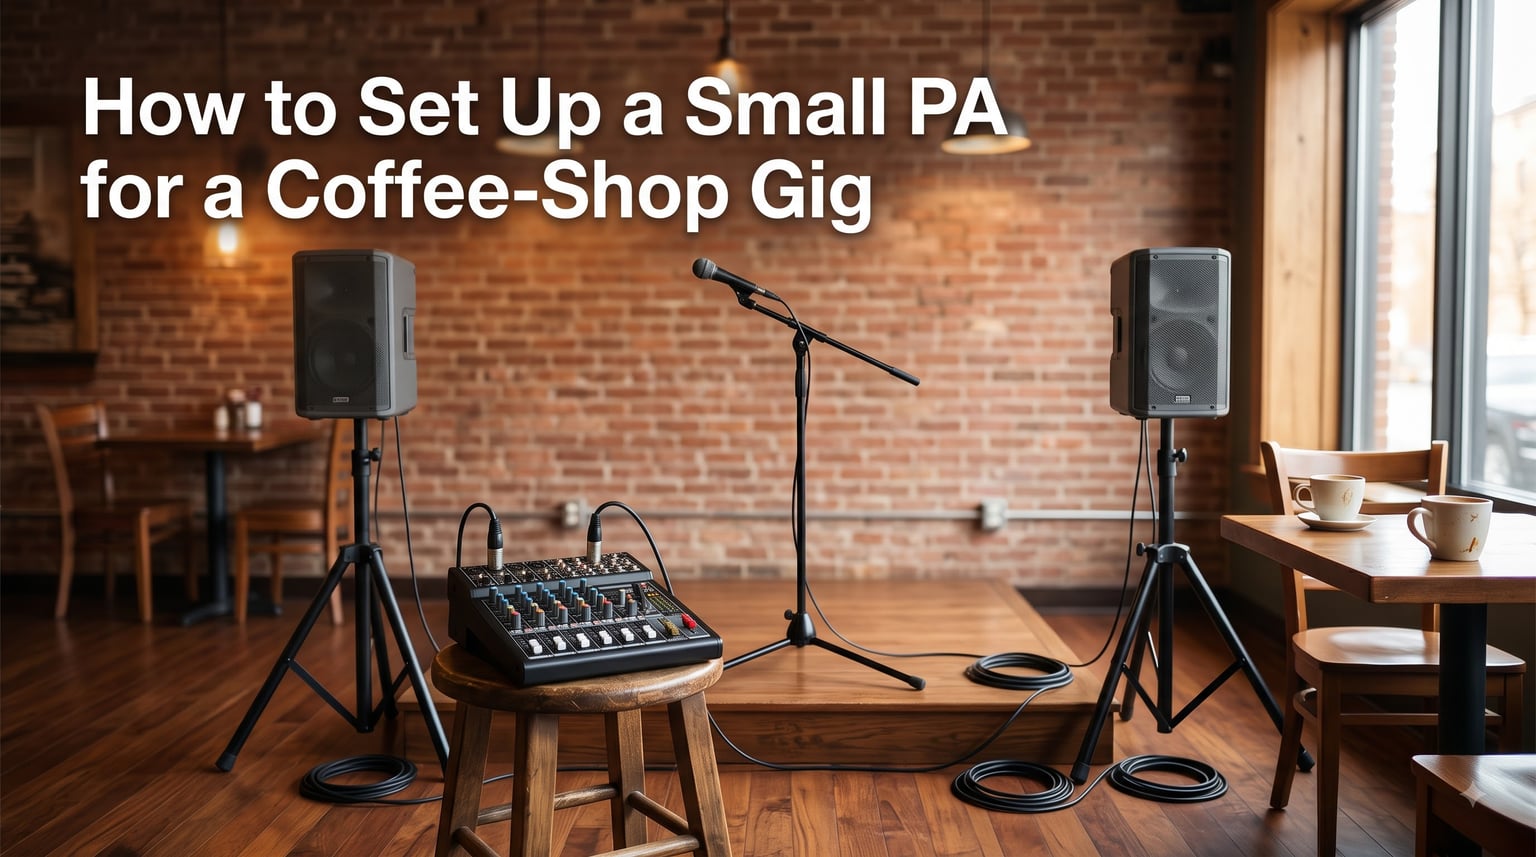
Setting up a small PA for a coffee-shop gig does not have to feel like a giant mystery. I have hauled my own rig into dozens of cafes and open mic nights, and I can tell you the gear list stays refreshingly simple once you understand the basics.
In this guide I will walk you through every step I use on the day of a gig, from choosing speakers and a mixer to plugging in cables and dialing in a clean sound check. Whether you are a solo singer-songwriter, an acoustic duo, or hosting open mic night, you will leave with a setup that sounds great and takes about 20 minutes from car to stage.
Table of Contents
What Is a Small PA System and Why Coffee Shops Need One
A small PA (Public Address) system is a compact sound rig that amplifies vocals and instruments for audiences of roughly 20 to 50 people. For coffee-shop gigs, the rig usually includes two powered speakers, a small mixer, and one or two microphones, plus the cables to tie everything together.
Coffee shops are acoustically tricky rooms. Hard floors, big windows, bare walls, and the hiss of an espresso machine all swallow up mid-range frequencies. Without a proper PA, your voice competes with milk steamers and chatty tables, and you end up pushing your guitar amp into distortion just to be heard.
A well-chosen small PA solves two problems at once. It lifts your vocals and acoustic guitar above the ambient noise without making the room feel like a concert hall. Most cafes actually prefer a gentle level, so a small PA tuned carefully is exactly right.
The Three Core Components You Need
Every coffee-shop PA setup comes down to three building blocks: speakers, a mixer, and microphones. I keep a dedicated bag for each so I never forget anything on gig day.
Speakers
Speakers are the part of the PA your audience actually hears. For a solo or duo coffee-shop gig, two compact powered speakers (10-inch or 12-inch woofers) on stands are the sweet spot. They deliver enough volume for a 30-person crowd and pack into a car without a truck rental.
Mixer
The mixer is the brain of your rig. Every microphone and instrument plugs into a channel, where you set volume, EQ, and effects. For most coffee-shop acts, a 4-channel analog mixer covers vocals, acoustic guitar, and a backup mic with room to spare.
Microphones
For live vocals in a cafe, a dynamic microphone like the Shure SM58 is the industry standard. It rejects background noise, handles the occasional drop, and sounds warm without needing phantom power. Save condenser microphones for studio work where you control the room.
Powered vs Passive Speakers: Which Should You Choose?
Powered speakers have a built-in amplifier. You run an XLR or 1/4 inch cable straight from your mixer to the speaker, and you are done. Passive speakers need a separate power amp sitting between the mixer and the speakers, which adds weight, cables, and setup time.
For coffee-shop gigs, I strongly prefer powered speakers. The signal chain is shorter, the rig is lighter, and there are fewer things to plug in. Solo artists on Reddit consistently report that two powered tops on stands plus a 4-channel powered mixer covers 95 percent of their cafe gigs.
Passive speakers only make sense if you already own a power amp, or if you are playing larger venues where you want to push big speaker cabinets harder. For your first coffee-shop setup, go powered.
Speaker Sizing and Power for Coffee Shop Venues
Speaker size matters more than raw wattage for a coffee-shop gig. A 10-inch or 12-inch full-range speaker gives you a balanced vocal tone with enough low end for an acoustic guitar or a kick drum if needed.
The 83% rule is a simple guideline from live-sound pros: aim to use about 83 percent of a speaker’s rated power, leaving 17 percent headroom for transients and unexpected peaks. Pushing a speaker to 100 percent constantly distorts the sound and shortens its life.
For a 30-person cafe, a pair of 200 to 400 watt powered speakers on stands is plenty. If you are filling a louder bar with the same rig, you will need more, but for coffee-shop atmosphere, restraint beats raw power.
Choosing the Right Mixer and Understanding Channels
A channel on a mixer is one complete signal path: an input, a gain knob, EQ controls, and a fader for the output volume. Every mic and instrument gets its own channel so you can balance them independently.
For a solo singer-songwriter, two channels (one vocal, one guitar) cover the basics. For a duo, three or four channels give you room for two vocals and an instrument, plus a spare for a click track or an announcement mic.
Analog mixers are cheaper, faster to dial in by feel, and easy to repair. Digital mixers offer built-in effects, scene recall, and finer EQ control but cost more and have a learning curve. For your first coffee-shop setup, an analog 4-channel mixer is plenty.
Cables, Stands, and Accessories You Cannot Forget
Cables are the silent heroes of any PA setup. Running XLR cables from your microphones to the mixer and from the mixer to your speakers keeps the signal balanced and noise-free. Bring at least one extra XLR of every length, because failures always happen on gig day.
You will also need 1/4 inch instrument cables for acoustic guitars or keyboards, plus a DI box if you want to send a balanced signal from an acoustic guitar’s pickup directly to the mixer.
Two speaker stands, one or two mic stands with booms, a power strip, and gaffer tape to secure cables round out the kit. I keep all of this in one gig bag so I never leave a cable behind.
Step-by-Step: How to Set Up a Small PA for a Coffee-Shop Gig
This is the exact process I follow for every cafe gig. Arrive 20 to 25 minutes before sound check so you are never rushing the barista.
Survey the space. Walk the room, find the power outlets, and identify where you will place speakers. Ask the venue manager about any rules on speaker placement or volume.
Set up speaker stands first. Place them at the front corners of your performance area, away from walls. Height should put the speaker drivers at head level for a standing audience.
Place the mixer. Put it near the performer so they can reach it for adjustments, but out of foot traffic paths.
Run XLR cables from mixer to speakers. Keep cable runs short and tape them down with gaffer tape to avoid trip hazards.
Set up mic stands and mics. Position vocal mic stands for easy reach. Keep mics aimed away from the front of the speakers to prevent feedback.
Run instrument cables. Plug acoustic guitars, keyboards, or other instruments into the appropriate mixer channels using 1/4 inch cables or DI boxes.
Connect power. Plug the mixer and speakers into a single power strip, then plug that into the wall outlet. This way one switch powers the whole rig.
Power on in the right order. Turn on the mixer first, then the speakers. This prevents a pop through the speakers when you power up. Reverse the order when tearing down.
Do a sound check. Have someone speak and sing into each mic while you set levels. Then perform a full song to check the overall mix.
Speaker Placement Tips for Tight Coffee Shop Spaces
Coffee shops usually give you a postage-stamp-sized corner, so placement is critical. Place your speakers at the front edges of your playing area, angled slightly inward to cover the audience evenly.
Never point speakers at hard walls or windows at close range, because reflections will smear your sound and create comb filtering. If you must place a speaker near a wall, angle it 30 degrees away from the wall to reduce bounce.
Keep microphones at least 6 to 8 feet in front of the speakers whenever possible. This single rule prevents most feedback problems before they start and lets you push the volume without squealing.
Basic Sound Check and Gain Staging
Gain is not the same as volume. Gain controls how loud the incoming signal hits your mixer channel, while the fader controls how loud that channel plays back through the speakers. Set gain first, then volume.
For each channel, turn the gain up while the performer sings or plays at their loudest, until the channel’s peak light just barely flashes red. Then back off a hair. Now your fader controls are honest and you have plenty of headroom.
Walk the room during sound check. Coffee shops sound very different from the performer’s position. If you can hear yourself clearly from the back table, the audience can too.
Coffee Shop-Specific Power and Volume Considerations
Most coffee shops have limited outlets, often shared with espresso machines, grinders, and refrigerators. Confirm outlet availability with the venue before you arrive. Bringing a small power strip with surge protection is a smart move, but never daisy-chain extension cords across a customer walkway.
Volume levels in cafes should match the conversation, not a concert. Aim for a level where someone two tables away can still hear their friend’s story without raising their voice. Espresso machine bursts and blender runs are louder than people expect, so leave yourself a little extra headroom for those moments.
If the venue has a patio, you might need to angle one speaker toward the outdoor seating. A second short cable run keeps the indoor crowd covered while the patio folks enjoy the set too.
Common Mistakes to Avoid on Your First Gig
The most common mistake is forgetting backup cables. XLR cables fail at the worst possible moment, so pack at least one spare of every length you use. The same goes for batteries if you are using any condenser mics or active DI boxes.
Avoid coiling cables in tight loops, which can damage them over time. Use the over-under method and hang them on a hook or cable bag. You will extend cable life by years.
Finally, do not skip the sound check. I have seen performers set up, plug in, and start playing in under five minutes, only to spend the first three songs fighting feedback. Twenty minutes of sound check saves twenty minutes of frustration during your set.
FAQs
How do you set up a portable PA system for a coffee shop?
Arrive 20 to 25 minutes early. Set up two speaker stands at the front of the performance area, place the mixer near the performer, run XLR cables from the mixer to each speaker, connect mics and instruments, power on the mixer first and then the speakers, then run a quick sound check on each channel before the set starts.
What is the 83% rule for speakers?
The 83% rule says you should use about 83 percent of a speaker’s rated power and leave 17 percent as headroom. This prevents distortion on loud transients and extends the life of the speaker and amplifier.
How many watts do I need for a small coffee shop PA?
For a 20 to 50 person coffee shop, a pair of 200 to 400 watt powered speakers is usually enough. Match the volume to the room rather than to the crowd size, and never push the speakers beyond their clean output level.
What sound system is best for small events?
For small events like coffee-shop gigs, the simplest reliable system is two powered speakers on stands, a 4-channel analog mixer, a dynamic vocal microphone like the Shure SM58, and the XLR cables to connect them. This setup is portable, affordable, and covers most solo and duo performances.
Conclusion
Setting up a small PA for a coffee-shop gig boils down to three core components: powered speakers, a small mixer, and a quality dynamic microphone, all connected with reliable XLR cables. Once you have practiced the setup two or three times, you can go from car to sound check in under 25 minutes.
Show up early, place your speakers smartly, run your cables cleanly, and take five minutes for a real sound check. Do that, and your coffee-shop gig will sound polished, professional, and ready for the next venue on your calendar.
3 thoughts on “How to Set Up a Small PA for a Coffee-Shop Gig (September 2026)”