
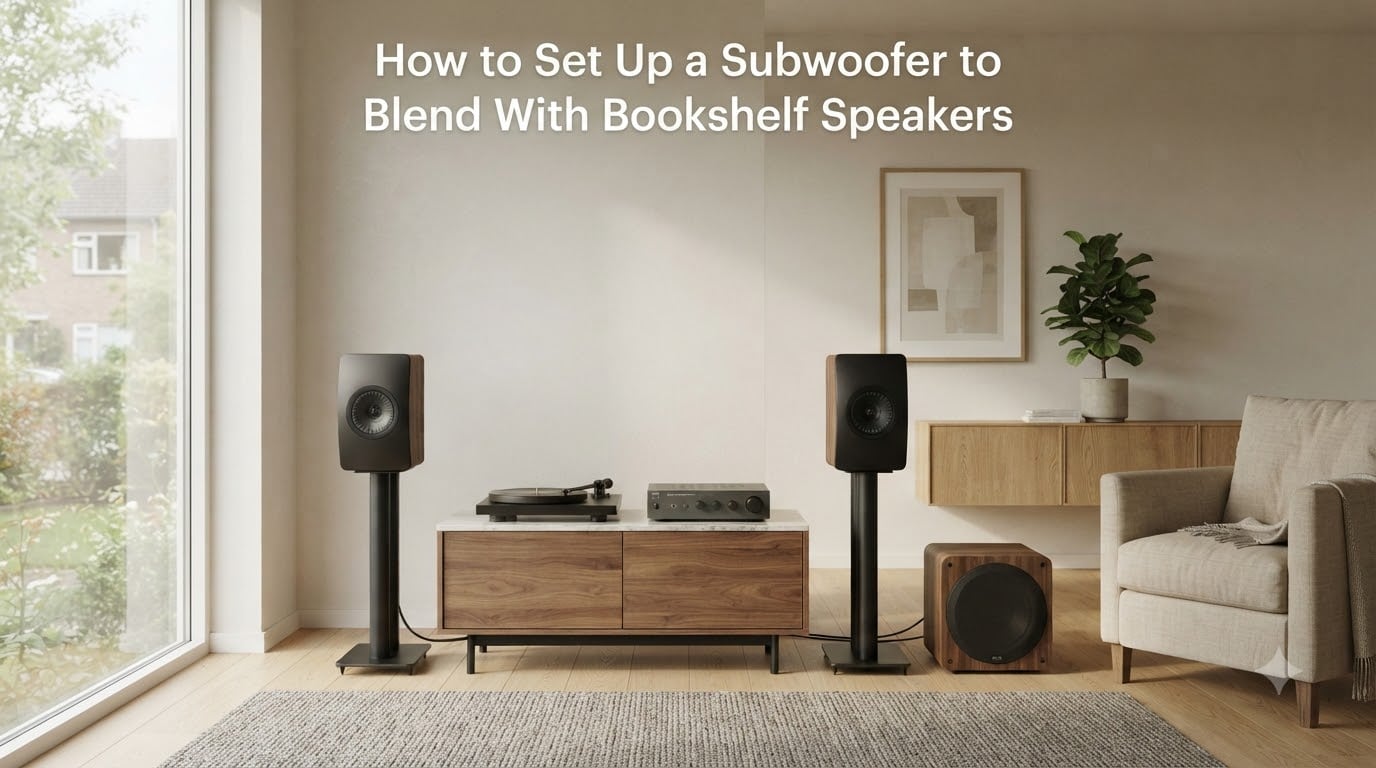
I’ve spent more hours than I’d like to admit crawling around my living room floor, moving a subwoofer six inches at a time, trying to get that perfect seamless bass response. If you’re here, you’re probably dealing with the same frustration — your subwoofer sounds like a separate thing rumbling in the corner instead of blending with your bookshelf speakers.
The good news is that learning how to set up a subwoofer to blend with bookshelf speakers is a systematic process. It’s not guesswork or magic. Once you understand the three key adjustment points — crossover, gain, and phase — everything clicks into place.
Bookshelf speakers are fantastic for midrange clarity and imaging. But most roll off somewhere between 50 and 70 Hz, leaving you without the deep bass that makes music and movies feel complete. A well-integrated subwoofer fills that gap so naturally you forget it’s there.
In this guide, I’ll walk you through every step — from choosing the right connection method to dialing in crossover frequency, gain, and phase. By the end, your 2.1 system will sound like one cohesive speaker instead of two bookshelf speakers plus a woofer.
Table of Contents
Why Add a Subwoofer to Bookshelf Speakers?
Bookshelf speakers trade bass depth for size and convenience. Most models use a 5 to 6.5-inch woofer, which physically cannot move enough air to reproduce frequencies below roughly 50 Hz with any authority. You’ll hear the kick drum, but you won’t feel it.
A subwoofer solves this by handling everything below your speakers’ comfortable range. This takes a major load off your bookshelf speakers too. When they no longer have to struggle with low bass, they sound cleaner and play louder with less distortion. I noticed this immediately when I added my first sub — vocals became more present and relaxed.
Do you need a subwoofer with your bookshelf speakers? If you listen to acoustic music at moderate volumes, maybe not. But for anything with electronic bass, hip-hop, orchestral music, or home theater, a subwoofer transforms the experience from good to genuinely immersive.
The catch is that an unblended subwoofer makes things worse, not better. A boomy, overpowering sub is worse than no sub at all. That’s why the setup process matters so much.
Understanding Subwoofer Types: Active vs Passive
Before connecting anything, you need to know what kind of subwoofer you have. The setup process differs depending on the type.
An active subwoofer (also called a powered subwoofer) has its own built-in amplifier, crossover control, phase switch, and volume knob. This is by far the most common type for home audio. Nearly every subwoofer designed to blend with bookshelf speakers is active. All it needs is a signal from your receiver or amplifier and a power outlet.
A passive subwoofer has no amplifier of its own. It requires an external amp to drive it, which complicates the signal chain significantly. Passive subs are rare in modern home setups outside of custom installations.
For this guide, I’m assuming you have an active subwoofer. If yours has a power cord that plugs into the wall and a panel with knobs on the back, that’s an active sub and you’re in the right place.
How to Connect a Subwoofer to Bookshelf Speakers (3 Methods)
There are three main subwoofer connection methods, and the right one depends on what your receiver, amplifier, or powered speakers offer. Let’s break down each one.
Method 1: LFE or Subwoofer Out (Best Option)
If your AV receiver or stereo amplifier has a jack labeled “Subwoofer Out” or “LFE Out,” this is your best path. LFE stands for Low-Frequency Effects, and this dedicated output sends a filtered bass signal straight to your subwoofer.
Here’s how to do it:
1. Power off your receiver and subwoofer. Never connect cables while equipment is powered on.
2. Run a single RCA subwoofer cable from the receiver’s Subwoofer Out to your sub’s LFE or Line In jack. Use a quality shielded subwoofer cable — regular RCA cables work but pick up more noise over long runs.
3. If your receiver has crossover settings in its menu, set them there. When using LFE, the receiver typically handles bass management, so you may want to set the subwoofer’s internal crossover to its maximum (or bypass it entirely if the sub allows).
4. Power on the receiver first, then the subwoofer.
Method 2: Speaker-Level Inputs (For Older Gear)
If your amplifier has no subwoofer output at all — common with vintage gear or basic stereo amps — you can use speaker-level inputs. Many active subs have speaker terminals on the back specifically for this.
Run speaker wire from your amplifier’s left and right speaker outputs to the subwoofer’s left and right high-level inputs. Then run another pair of wires from the subwoofer’s high-level outputs to your bookshelf speakers. The subwoofer taps the signal, extracts what it needs, and passes the full-range signal to your speakers.
This method works well, but you’ll need to manage the crossover entirely on the subwoofer itself since your amp has no bass management.
Method 3: Pre-Out or Line-Level Connections
Some stereo preamps and integrated amps have a pair of pre-out RCA jacks. You can split this signal using Y-adapters — one pair to your power amp (which drives the bookshelf speakers) and one pair to the subwoofer’s line-level inputs.
This gives you full-range signal at line level, and the subwoofer’s internal crossover handles the split. It’s clean and effective, though slightly more cable-heavy.
Setting the Crossover Frequency for Seamless Blending
The crossover frequency is the single most important setting when you blend a subwoofer with speakers. It defines the point where your bookshelf speakers hand off bass duties to the subwoofer. Get this wrong and you’ll either get a gap in frequency response or a bloated, overlapping mess.
Here’s how to find the right crossover frequency for your setup:
Step 1: Find your speakers’ low-end specification. Check the frequency response spec for your bookshelf speakers. Look for the lower number, typically expressed as something like “55 Hz (+/- 3dB).” This tells you roughly where your speakers start rolling off.
Step 2: Set the crossover about one octave above that point. A common starting recommendation is 80 Hz, which works well for most bookshelf speakers. If your speakers are larger and reach down to 45 Hz confidently, you could try 60 Hz. Smaller speakers that roll off at 70 Hz may need 90 to 100 Hz.
Step 3: Listen and adjust. Play a bass sweep or a track with sustained low notes. If you hear a dip or thinness in the transition zone, your crossover may be set too low for your speakers. If bass sounds thick and heavy in the mid-bass region, it might be too high.
The goal is a smooth handoff where you cannot tell where the speakers end and the subwoofer begins. When done right, the soundstage stays anchored to your speakers while the sub adds depth you feel more than hear.
The ‘Small’ vs ‘Large’ Speaker Setting Explained
If you’re using an AV receiver, you’ll encounter a speaker setting that simply says “Small” or “Large.” This setting causes more confusion than almost anything else in subwoofer integration.
Here’s the plain truth: “Large” does not mean your speakers are physically big. It means the receiver sends a full-range signal to them, including deep bass. “Small” means the receiver redirects bass below the crossover point to the subwoofer.
Almost every bookshelf speaker should be set to “Small.” Even well-reviewed bookshelf speakers that reach into the low 40 Hz range benefit from being set to Small. The reason is simple — your subwoofer is purpose-built for bass and will handle it better than your bookshelf speakers ever can.
This ties into what some call the “83% rule.” The idea is that your crossover should be set to about 83% of your speakers’ confirmed low-frequency extension. If your speakers cleanly reach 60 Hz, 83% of that lands around 50 Hz. This gives a slight overlap so there’s no gap between where the speakers and subwoofer meet.
Setting bookshelf speakers to Large while also running a subwoofer causes them to compete. That’s a fast track to boomy, muddy bass.
Adjusting Subwoofer Gain and Volume
The gain knob on your subwoofer controls how much the built-in amplifier boosts the incoming signal. It’s not the same as a simple volume control — it determines sensitivity to the input signal.
Here’s my process for setting gain correctly:
Start low. Set the gain to about 25% (roughly the 9 o’clock position on the dial). It’s always easier to add more than to fix an overpowering sub.
Play familiar reference music at your normal listening volume. Choose tracks you know inside and out — something with consistent, defined bass. I use a few go-to tracks I’ve heard on dozens of systems.
Gradually increase gain until the bass is present but not obvious. The moment you start noticing the subwoofer as a distinct source, you’ve gone too far. Back it off slightly. Properly blended bass should feel like it’s coming from your speakers, not from a box on the floor.
The biggest mistake I see (and have made myself) is cranking the gain because “more bass feels better.” It doesn’t. A sub that’s 3 dB too hot will sound impressive for about ten minutes and fatiguing for everything after that. Aim for bass you feel rather than hear.
Phase Adjustment and Subwoofer Placement
Phase adjustment is the setting most people skip, yet it can make or break the blend between your subwoofer and bookshelf speakers. I ignored it for years and wondered why my bass always felt slightly detached.
What the Phase Switch Does
Most active subwoofers have a phase switch marked 0 and 180 degrees, or a continuously variable phase dial from 0 to 180. This control delays the subwoofer’s output relative to your speakers so their sound waves arrive at your listening position in sync.
When the subwoofer and speakers are out of phase, their bass waves partially cancel each other. The result is thin, weak bass with a gap right around the crossover frequency. When they’re in phase, the bass is full and smooth.
How to Set Phase Correctly
Play a track with steady bass content right around your crossover frequency. Have someone flip the phase switch back and forth while you sit in your listening position. Whichever setting produces fuller, more solid bass is the correct one.
If your sub has a variable phase dial, rotate it slowly while listening and stop where the bass sounds fullest and most connected to your speakers.
Subwoofer Placement Matters More Than You Think
Room acoustics affect bass more than any other frequency range. Where you place the subwoofer determines whether you get smooth, even bass or boomy, uneven response.
The subwoofer crawl technique is the most practical placement method I’ve used. Place your subwoofer at your main listening position (yes, on the couch). Play a bass-heavy track on loop. Now crawl around the edges of your room. Wherever the bass sounds smoothest and most balanced is where you should place the subwoofer. It sounds silly, but it works because of acoustic reciprocity.
Corner placement gives you the most bass output but can sound boomy. Mid-wall placement tends to sound more natural but with less raw output. There’s always a trade-off — experiment and trust your ears.
Testing and Fine-Tuning for Proper Blending
Once you’ve set crossover, gain, and phase, it’s time to verify the results with real listening tests. This step separates a decent setup from one that genuinely disappears into the music.
Listening Tests by Ear
Use tracks you know intimately across different genres. I always test with these three categories:
Bass-heavy music (electronic, hip-hop): Listen for tight, defined bass notes rather than a vague rumble. Each bass note should have a clear beginning and end.
Vocal and acoustic music: This reveals whether your sub is set too high. If vocals sound chesty or thick, or acoustic guitar sounds bloated in the lower registers, your gain or crossover is likely too high. You should barely notice the subwoofer at all with this material.
Full-range orchestral or film soundtracks: Listen for smooth transitions between low cellos, bass drums, and sub-bass effects. There should be no obvious step up or down as frequencies move from speakers to subwoofer.
Signs Your Subwoofer Is Properly Blended
You can’t locate the subwoofer by ear — bass seems to come from the speakers. Low frequencies feel like a natural extension of the music rather than an addition. Sustained bass notes are even and controlled, not vibrating or droning. The system sounds good at both low and high volumes.
When to Use Measurement Tools
If you want to get precise, a measurement microphone like the miniDSP UMIK-1 paired with Room EQ Wizard (REW) software shows you exactly what’s happening in your room. It measures your system’s frequency response so you can see peaks and nulls instead of guessing.
I resisted measurement tools for a long time, thinking my ears were enough. Once I tried REW, I discovered a 10 dB null at 45 Hz in my room that I’d been blaming on my speakers. Measurement doesn’t replace listening — it accelerates the process and removes guesswork.
For advanced setups, a miniDSP unit can apply parametric EQ to tame room modes and smooth out bass response. But for most people, careful placement and basic dial settings are enough to get 90% of the way there.
Common Mistakes to Avoid
Over years of helping friends and forum members troubleshoot their setups, the same problems come up repeatedly. Here are the most common mistakes and how to fix them.
Mistake 1: Setting the gain too high. This is the number one cause of boomy, fatiguing bass. Your subwoofer should add depth and weight, not draw attention to itself. If visitors can immediately point to where the subwoofer is, it’s too loud.
Mistake 2: Setting speakers to “Large.” As covered earlier, bookshelf speakers should almost always be set to Small when used with a subwoofer. Large makes them fight the sub for the same frequencies.
Mistake 3: Guessing the crossover instead of matching it to your speakers. A blanket 80 Hz works for many setups, but if your speakers roll off at 50 Hz, 80 Hz creates unnecessary overlap. Know your speakers’ specs and set the crossover accordingly.
Mistake 4: Ignoring room acoustics and placement. No amount of dial tweaking fixes a subwoofer placed in a terrible spot. Spend time on placement before fine-tuning knobs.
Mistake 5: Skipping the phase adjustment. It takes two minutes and can transform thin bass into full, integrated bass. Don’t leave it at default without testing the alternate setting.
Mistake 6: Constantly readjusting settings. A common frustration shared on audiophile forums — getting it perfect one day, then feeling the need to tweak the next. Our perception of bass shifts based on listening volume, mood, and even the recording. Set it well, then give your ears a few days before changing anything.
FAQs
How to match subwoofer to bookshelf speakers?
Match your subwoofer to bookshelf speakers by finding your speakers’ low-frequency extension from their spec sheet, then setting the subwoofer’s crossover roughly one octave above that point. For most bookshelf speakers, a crossover between 60 and 80 Hz works well. Also ensure the subwoofer’s size and output are proportional — a massive 15-inch sub may overpower small bookshelf speakers, while a compact 8-inch sub may struggle to keep up with larger models.
How to blend a subwoofer with speakers?
Blending a subwoofer with speakers requires setting three things correctly: crossover frequency (where bass hands off from speakers to sub), gain or volume (how loud the sub is relative to speakers), and phase (ensuring the sub and speakers fire in sync). Start with crossover at 80 Hz, gain at 25%, and test both phase positions. Gradually increase gain until bass is felt but not obviously coming from a separate source. Test with familiar music across multiple genres.
What is the 83% rule for speakers?
The 83% rule suggests setting your crossover frequency to approximately 83% of your speakers’ confirmed low-frequency extension. For example, if your bookshelf speakers cleanly reach 60 Hz, you would set the crossover around 50 Hz (83% of 60). This creates a slight overlap between the subwoofer and speakers so there is no gap in frequency response. The rule is a guideline, not a hard formula — always confirm by ear.
Do I need a subwoofer with my bookshelf speakers?
You don’t strictly need a subwoofer with bookshelf speakers, but most setups benefit from one. Bookshelf speakers typically cannot reproduce frequencies below 50 to 60 Hz with authority. A subwoofer fills in that missing bottom octave, adds physical impact to music and movies, and frees your speakers from struggling with low bass. If you listen at low volumes to acoustic or vocal music, you may not miss it. For anything with deep bass content, a subwoofer makes a significant difference.
Final Thoughts: How to Set Up a Subwoofer to Blend With Bookshelf Speakers
Learning how to set up a subwoofer to blend with bookshelf speakers comes down to three adjustments: crossover, gain, and phase. Connect your sub using the best method your gear supports, find the crossover point that matches your speakers, set gain low and work up, and always test both phase positions.
Placement matters as much as any knob setting. Run the subwoofer crawl before you spend an hour turning dials. And be patient — your ears adapt over days, not minutes. Set it well, live with it for a week, then make small adjustments.
When done right, the result is a 2.1 system that sounds bigger, fuller, and more cohesive than your bookshelf speakers ever could on their own. The subwoofer disappears, and all that’s left is the music.