
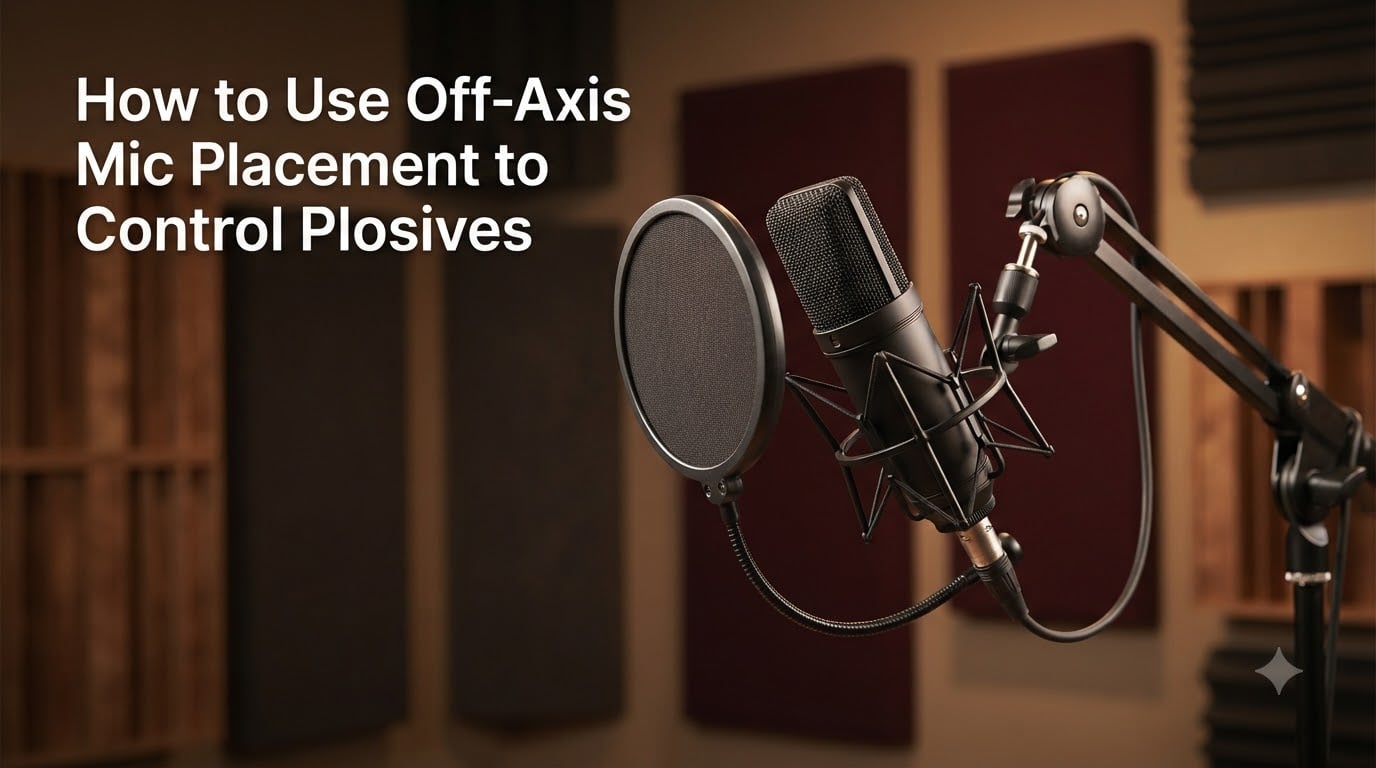
Off-axis mic placement is positioning your microphone at an angle to your mouth instead of directly in front of it. This simple adjustment prevents the bursts of air from plosive consonants (P, B, T, K) from slamming into the diaphragm, which is the root cause of those distracting thumps in your recordings.
I have spent years recording vocals, podcasts, and voice overs, and I can tell you that 90 percent of plosive problems disappear the moment you stop talking directly into the mic. In this guide, I will walk you through exactly how to angle your microphone, what distance to maintain, and how to layer this technique with a pop filter for the cleanest possible vocal recording.
Table of Contents
What Are Plosives and Why Do They Happen?
Plosives are low-frequency thumps caused when air bursts from your mouth hit the microphone diaphragm directly. The consonants P and B create the worst offenders because they require you to push a strong puff of air outward, but T and K can also cause problems depending on your mic and technique.
Your microphone diaphragm is a thin membrane designed to convert sound waves into electrical signals. When a sudden blast of air hits it, the membrane gets physically pushed, producing a loud low-frequency pop that no amount of EQ can fully fix later. This is why experienced engineers always recommend solving plosives at the source rather than in post-production.
You have probably heard these thumps in amateur recordings. They sound like a muted “boom” right before the word that starts with P or B, and they are especially obvious on condenser microphones with large diaphragms.
How Does Off-Axis Mic Placement Work to Control Plosives?
Off-axis placement works because most microphones used for vocals use a cardioid pickup pattern. A cardioid pattern is most sensitive to sound coming from directly in front and rejects sound coming from the sides and rear. Plosive air blasts travel in a straight line from your mouth, so angling the mic lets those blasts pass by without hitting the diaphragm head-on.
When you speak at an angle, your voice still reaches the diaphragm because sound waves diffuse in all directions, but the direct column of air from plosives misses the sensitive element. This is the same principle behind why a windscreen works on outdoor microphones. You are physically redirecting the disruptive force away from the most sensitive part of the mic.
The result is a cleaner vocal signal with the same tone and presence, but without the thumps that distract your listener and force you to spend hours editing.
Step-by-Step Guide to Off-Axis Mic Positioning
Setting up off-axis placement takes less than a minute once you know what to do. Here is the exact process I use when setting up any new recording session.
Set your distance first. Position the microphone 6 to 12 inches from your mouth. I usually start at 8 inches for spoken word and pull back to 10 to 12 inches for vocals where I want more room sound.
Angle the mic 30 to 45 degrees off your mouth axis. A 45-degree angle is the most common starting point and works for most voices and microphones.
Choose side-to-side or up-down positioning. Angling to the side is easier to maintain with a boom arm, while angling from above is preferred for broadcast and podcast setups.
Speak across the mic, not into it. Your words should travel parallel to the mic face, not directly into it.
Test with a P-heavy sentence. Say “Peter Piper picked a peck of pickled peppers” at your normal speaking volume and listen back. Adjust the angle if you still hear thumps.
If the P pops are still there after 45 degrees, push back another inch or two. Distance is the second most powerful variable after angle, and combining both gives you near-total plosive control.
Side-to-Side vs Up-Down Off-Axis Placement: Which Is Better?
This is where most guides stop short, but the difference matters. Side-to-side off-axis placement angles the microphone horizontally so you speak across it like a newscaster addressing a podium mic. Up-down placement angles the mic vertically, usually from above your mouth aimed down toward your chin.
Up-down placement is my preferred approach for podcasts and voice overs because it keeps the mic out of your sight line and reduces the temptation to lean into it. It also keeps your hands free if you gesture while talking. The trade-off is that you need a boom arm or mic stand with good vertical adjustment.
Side-to-side placement works better for singers and anyone who moves their head while performing. It also makes it easier to read lyrics or scripts positioned directly in front of you. The downside is that turning your head away from the mic can change the captured tone, so consistency matters more.
For spoken word, I recommend up-down. For singing, I recommend side-to-side. Both are equally effective at controlling plosives if you maintain the 30 to 45 degree angle.
Dynamic vs Condenser Microphones: Plosive Behavior Compared
Dynamic and condenser microphones handle plosives very differently, and your off-axis strategy should adapt accordingly. Dynamic mics like the Shure SM7B or Electro-Voice RE20 have heavier diaphragms and built-in windscreens, so they tolerate plosives better even on-axis. With these mics, a small 20 to 30 degree angle is usually enough.
Condenser microphones, especially large-diaphragm models, are far more sensitive to air movement. A 45-degree angle or even steeper is often necessary to fully control plosives. Ribbon microphones fall between the two. They are smooth-sounding but very fragile, so off-axis placement protects both the ribbon element and your recording.
One thing I have noticed across hundreds of sessions: condensers reward you for combining off-axis placement with a pop filter, while dynamics often do not need a filter at all if you angle them correctly. Match your approach to your mic type rather than applying the same technique blindly.
Combining Off-Axis Placement with Pop Filters and Other Tools
Off-axis placement and pop filters are not competing solutions. They are complementary layers of defense. The pop filter breaks up the direct air column, while the off-axis angle ensures whatever air remains does not slam into the diaphragm. Used together, they eliminate virtually every plosive.
Position your pop filter 2 to 3 inches in front of the microphone face, on the side where your mouth is. If you are using up-down off-axis placement, place the filter directly between your mouth and the mic at an angle. For side-to-side, the filter sits between your mouth and the front face of the angled mic.
Beyond pop filters, you can layer in a high pass filter on your audio interface or DAW to roll off frequencies below 80 Hz, where most plosive energy lives. This is a safety net, not a replacement, but it catches anything that slips through. Foam windscreens add a third layer for handheld or field recording scenarios.
Common Mistakes to Avoid with Off-Axis Mic Placement
Over-angling is the most common mistake I see. Beginners crank the mic to 60 or 90 degrees thinking more angle means fewer plosives. The reality is that extreme angles thin out your vocal tone and can introduce off-axis coloration, which changes how your voice sounds. Stay between 30 and 45 degrees for the best balance.
Sitting too close is another frequent error. If you are closer than 4 inches, even an angled mic will catch some direct air, especially on B and P sounds. Pull back to at least 6 inches and you will notice immediate improvement.
Forgetting to test before recording is the third trap. Always record 30 seconds of P-heavy dialogue and listen back before committing to a full session. Voices vary, and what works for one speaker may need adjustment for another. Treat every setup as a fresh calibration.
The 3:1 Rule and Why It Matters for Plosive Control
The 3:1 rule states that when using multiple microphones, the distance between microphones should be at least three times the distance from each mic to its sound source. This rule exists primarily to prevent phase cancellation, but it also helps with plosive control when recording conversations or interviews.
If one speaker is closer to their mic than the other, the louder speaker’s plosives can leak into the second mic and cause phase issues when you mix the tracks. Maintaining the 3:1 ratio keeps levels balanced and reduces how much plosive energy bleeds between microphones.
For solo recording, the rule does not apply directly, but the principle of consistent spacing is still useful. Pick a distance and stick to it throughout your session.
FAQs
How to reduce plosives on a mic?
Position the microphone 6 to 12 inches from your mouth and angle it 30 to 45 degrees off-axis so plosive air blasts miss the diaphragm. Add a pop filter 2 to 3 inches in front of the mic as a secondary layer. Combine these with a high pass filter set around 80 Hz for full-spectrum plosive control.
What does putting a mic off the axis do?
Putting a mic off-axis angles it away from the direct line of air leaving your mouth. Because cardioid microphones reject sound from the sides, your voice still gets picked up clearly while the plosive air blasts pass by the diaphragm without causing low-frequency thumps.
How to position a mic off axis?
Set the mic 6 to 12 inches from your mouth, then rotate it 30 to 45 degrees so you speak across the face of the microphone rather than into it. Use up-down placement (mic above mouth aimed down) for podcasts and voice overs, or side-to-side placement for singers who move while performing.
What is the 3:1 rule for mics?
The 3:1 rule says that when using multiple microphones, the distance between any two mics should be at least three times the distance from each mic to its sound source. This prevents phase cancellation and reduces plosive bleed between microphones in multi-speaker recordings.
Final Thoughts on Off-Axis Mic Placement for Plosive Control
Off-axis mic placement is the single most effective technique for controlling plosives without changing your voice or buying extra gear. Angle your microphone 30 to 45 degrees, maintain 6 to 12 inches of distance, and choose up-down or side-to-side placement based on your recording style. Add a pop filter if you use a condenser, and you will get clean, professional vocals every time.
I encourage you to spend five minutes testing different angles and distances before your next session. The right off-axis position is the cheapest, fastest upgrade you can make to your recording setup.