
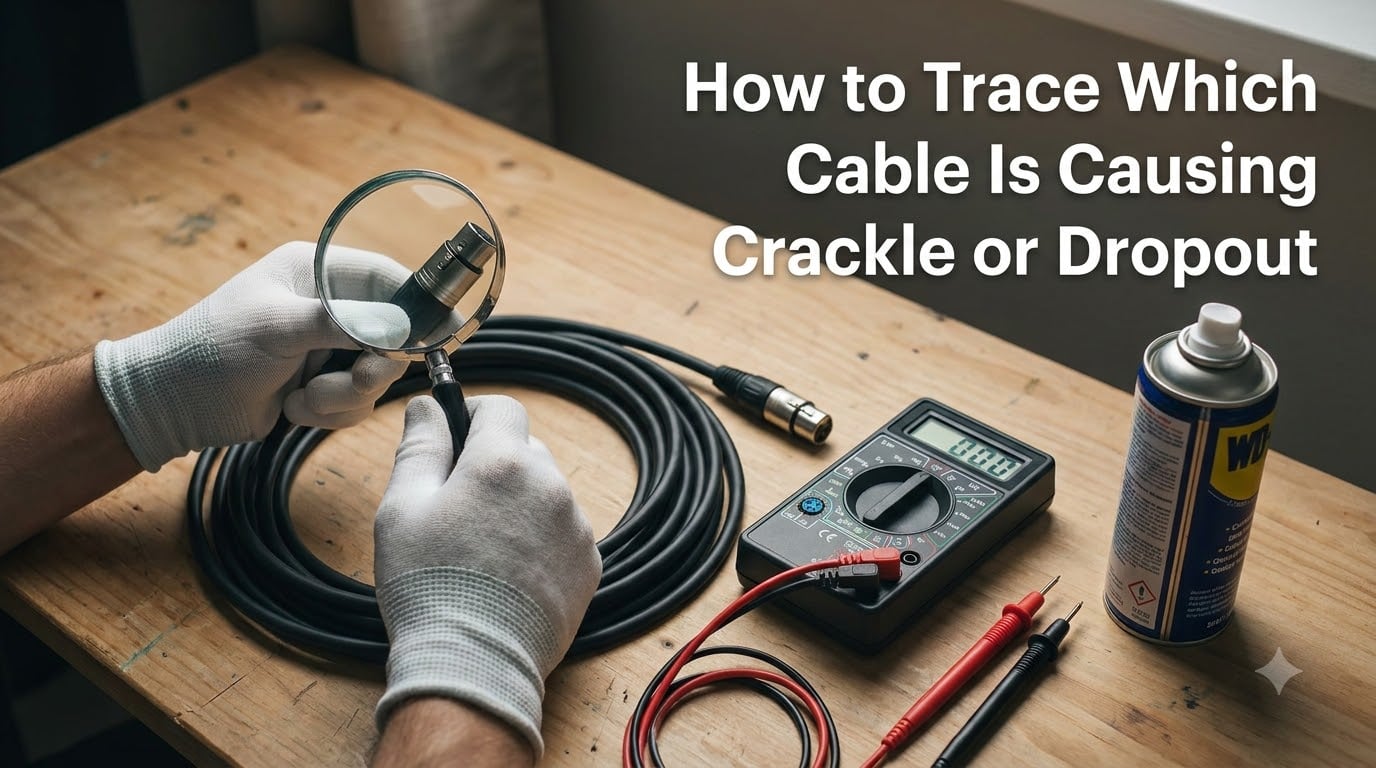
Pop, hiss, dropouts, and intermittent crackle are usually a hardware problem before they are ever a software problem. In our team’s studio work over the last several years, the fastest fixes have come from a structured cable trace, not from chasing buffer settings or DAW preferences.
This guide walks through how to trace which cable is causing crackle or dropout in any audio setup. You will learn a logical diagnostic order, three hands-on tests, and the one reading on a multimeter that confirms a cable is dead.
Table of Contents
What Causes Cable-Related Crackle and Dropout
Crackle is the sound of a signal path breaking and reconnecting thousands of times per second. Dropout is the same fault taken to its extreme, where the connection breaks long enough for the audio engine to register silence.
Four physical causes account for most of the noise our team has traced in home studios, rehearsal rooms, and live rigs:
Damaged conductors inside the cable jacket
Loose, oxidised, or dirty connector contacts
Strain or broken solder joints at the connector boot
Shielding failures that let in RF and ground loop hum
USB, optical, and digital cables fail in slightly different ways. USB links drop packets when voltage drops or contacts wobble. Optical connections lose lock when the ferrule is dirty or unseated. The diagnostic order stays the same even when the symptoms differ.
Quick Diagnostic Checklist
Before touching a multimeter, run through this four-step checklist. It solves roughly half of the crackle and dropout tickets our team opens.
Reproduce the noise on demand. Trigger it consistently so you know when the fault is active.
Identify the affected signal chain. Note the input, output, and every cable between them.
Swap the suspect cable with a known-good spare of the same type.
Power-cycle every device in the chain and reseat each connector fully.
If the noise disappears after step three, you have your culprit. If the noise stays, move down the chain, swapping one cable at a time. Keep notes, because cable faults often mask each other.
Physical Inspection: Look Before You Test
A careful physical inspection catches most cable faults before you ever touch a meter. Run the cable through your hands from end to end.
Squeeze the cable jacket for soft spots or kinks. A cable that has been stepped on, run over a chair wheel, or coiled too tightly will have a localised mushy area. That is almost always where the conductor has fractured.
Inspect the strain relief boot where the cable enters the connector. If the boot is cracked, twisted, or pulling away from the connector shell, the internal solder joints are taking strain. Wiggle the cable near the boot while plugged in. Any crackle that responds to this flex is a connector or strain relief fault.
Look closely at the contact pins. XLR pins should be straight and bright, not bent or green. RCA centres should sit centred and shiny. TRS sleeves should be unbroken. Oxidation looks like dull grey or green discolouration and it is enough on its own to cause intermittent crackle.
Sniff the cable. A burnt or melted-plastic smell means the cable has been overloaded, often by a phantom power short inside a faulty mic.
The Wiggle Test and Tap Test
The wiggle test is the most-cited trick on recording forums because it works. With audio playing through the suspect signal chain, gently wiggle the cable near each connector while listening for changes.
Here is the procedure our team uses:
Route audio through the suspect chain at a comfortable monitoring level.
Wiggle the cable within two inches of each connector with light, even pressure.
Tap the connector housing lightly with your fingernail.
Run your hand along the cable length, squeezing gently every few inches.
Any change in the noise during a wiggle or a squeeze pinpoints the location of the fault. Crackle that worsens with movement means a broken conductor or loose joint. Crackle that vanishes with movement means an oxidised contact that needs cleaning. Silence when you tap a connector means the connector itself is loose inside its shell.
Multimeter Continuity and Resistance Testing
When visual inspection and the wiggle test leave doubt, a multimeter gives you a definitive answer. The Gearspace community has relied on this method for decades and it still beats any cable tester under a hundred pounds.
Set Up the Multimeter
Turn the dial to continuity mode if your meter has one. The display shows a small speaker icon and usually beeps when continuity is present. If your meter does not have a continuity mode, switch to the lowest resistance range, typically 200 ohms.
Test Each Conductor
For an XLR or TRS cable, identify the three connection points: tip (or pin 2), ring (or pin 3), and sleeve (or pin 1). Touch one probe to the same point on each end of the cable. A beep, or a reading under one ohm, confirms continuity.
For RCA cables, test the centre pin and the shield ring separately. For USB, test the power and data pairs according to the wiring standard, although most technicians simply swap the cable and move on.
Interpreting the Resistance Reading
A reading of 0 to 1 ohm means a healthy conductor. A reading of a few ohms that fluctuates when you wiggle the cable means a partially broken conductor. A reading of open line (OL) or infinite resistance means a complete break. None of these three is acceptable for a working audio cable.
To find a break in a wire that is not shorted or grounded, measure resistance between tip and shield on both ends with the cable unplugged. A reading that creeps up while you flex the cable is a confirmed intermittent fault.
Common Cable Types and Their Failure Modes
Different cable types fail in different ways. Knowing the pattern helps you predict the culprit before you start testing.
XLR Cable Reliability
XLR cables are the workhorses of studio and live sound. They are balanced, locking, and tolerant of abuse, which is why most rigs lean on them. The most common failure is a broken pin 2 or pin 3 conductor inside the boot, followed by a fractured shield. Both show up immediately on a continuity test.
TRS Cable Failure Patterns
TRS cables carry balanced line signals and insert points. They tend to fail where the cable meets the plug, especially on right-angle plugs used for patch bays. Sleeve joints break under strain and crackle follows. Replace TRS cables used on patch bays every two to three years as preventive maintenance.
RCA Cable Issues
RCA connections are unbalanced and prone to ground loops. They fail at the centre pin first because the pin is small and easily bent. Crackle from an RCA cable is often fixed by straightening the centre pin with a fine pick, but if the joint is loose inside the plug, replace the cable.
USB and Optical Cable Quirks
USB cables carrying audio drop packets when voltage sags or when a hub introduces latency. The fix is almost always a shorter, higher-quality cable direct to the computer. Optical cables lose lock entirely when a ferrule is dirty or slightly unseated, which produces a sudden dropout rather than gradual crackle. Clean ferrule, reseat firmly, test again.
Software vs Hardware: Is It Really the Cable?
Replacing a cable that is not the problem is expensive and frustrating. Before you swap your entire loom, rule out software.
Reproduce the crackle without your DAW open. Play audio directly through the audio interface using a system player. If the noise is still there, the DAW is innocent.
Check the sample rate and buffer size. A buffer that is too small for your CPU causes crackle that follows the mouse cursor or heavy plugin activity, which is a clear signature. Our team default is 256 samples at 48 kHz for tracking. If crackle disappears at 512 samples, you have a CPU issue, not a cable.
Eliminate USB hubs and extension cables. Plug the audio interface directly into the computer. If crackle disappears, the hub was the culprit, not the audio cable.
When to Replace vs Repair a Cable
Not every faulty cable needs to be thrown away. Some can be re-terminated cleanly and last another decade.
Repair the cable when the fault is at the connector and the rest of the cable is undamaged. Cut off the old connector, strip the conductors, and re-solder or re-crimp a new one. This is worth doing for premium cable stock.
Replace the cable when the fault is in the middle of the run, when the jacket is cracked, when the shield is exposed, or when the cable has been overloaded. Soldering mid-cable breaks is rarely reliable and the joint will fail again within months.
For mic cables carrying phantom power, replace on sight if the cable has ever shorted. Phantom power faults can leave hidden carbon tracking inside the jacket that returns as crackle weeks later.
Preventive Maintenance to Stop Crackle Before It Starts
The cheapest cable fault is the one you prevent. Our team follows three habits that have cut troubleshooting time dramatically.
Coil cables using the over-under method, not the elbow wrap. Over-under coiling leaves the cable relaxed and prevents the internal helix that leads to jacket damage. Use a four-inch coil diameter for mic cables, six-inch for looms.
Clean connector contacts every six months. A pencil eraser works well on XLR pins. DeoxIT or similar contact cleaner is better for gold-plated RCAs. Avoid scratch pads, which strip plating.
Label and rotate cables. Mark each cable with a number and the year of purchase. Rotate stage cables into studio use and studio cables into storage. A cable that has been retired before it fails is a cable that never causes a dropout on a critical session.
FAQs
How to trace a faulty wire?
Reproduce the noise, identify the affected signal chain, and test each cable one at a time using the wiggle test followed by a multimeter continuity check. The first cable whose replacement removes the noise is the faulty wire.
Can you fix audio connections that crackle?
Yes, if the fault is a dirty contact or a loose connector. Clean the contacts, reseat the connector, and re-solder any broken joints. If the conductor itself is broken mid-cable, replacement is the reliable fix.
Is there a tool to trace electrical wires?
A multimeter in continuity mode is the standard tool. For longer runs or in-wall cables, a tone generator and probe kit lets you trace a single conductor through a bundle without stripping insulation.
How to find a break in a wire that’s not shorted or grounded?
Set a multimeter to the lowest resistance range and measure tip to shield on both ends while flexing the cable. A reading that climbs during a flex confirms an intermittent break without a short.
Why are my speakers crackling and cutting out?
Crackle and cut-outs in speakers usually trace to a loose speaker cable, a failing amplifier output, or a damaged driver. Reseat and swap the speaker cable first, then test the amplifier with a known-good source.
How can I fix crackling and interference on my speakers using cables?
Use balanced cables where possible, keep audio cables away from power cables, replace any cable with visible jacket damage, and clean connector contacts every six months. Balanced connections reject most interference that unbalanced cables pick up.
Final Thoughts
Learning how to trace which cable is causing crackle or dropout saves hours of guesswork. The diagnostic order that works for our team every time is simple: reproduce the noise, swap cables one at a time, wiggle each connector, then confirm with a multimeter.
Build the habit. The next time crackle appears mid-session, you will have a process ready instead of a panic. Keep a small kit of known-good spare cables, a basic multimeter, and contact cleaner at your workstation, and most cable faults will be resolved in under fifteen minutes.
1 thought on “Trace Faulty Audio Cables (2026) Guide”