
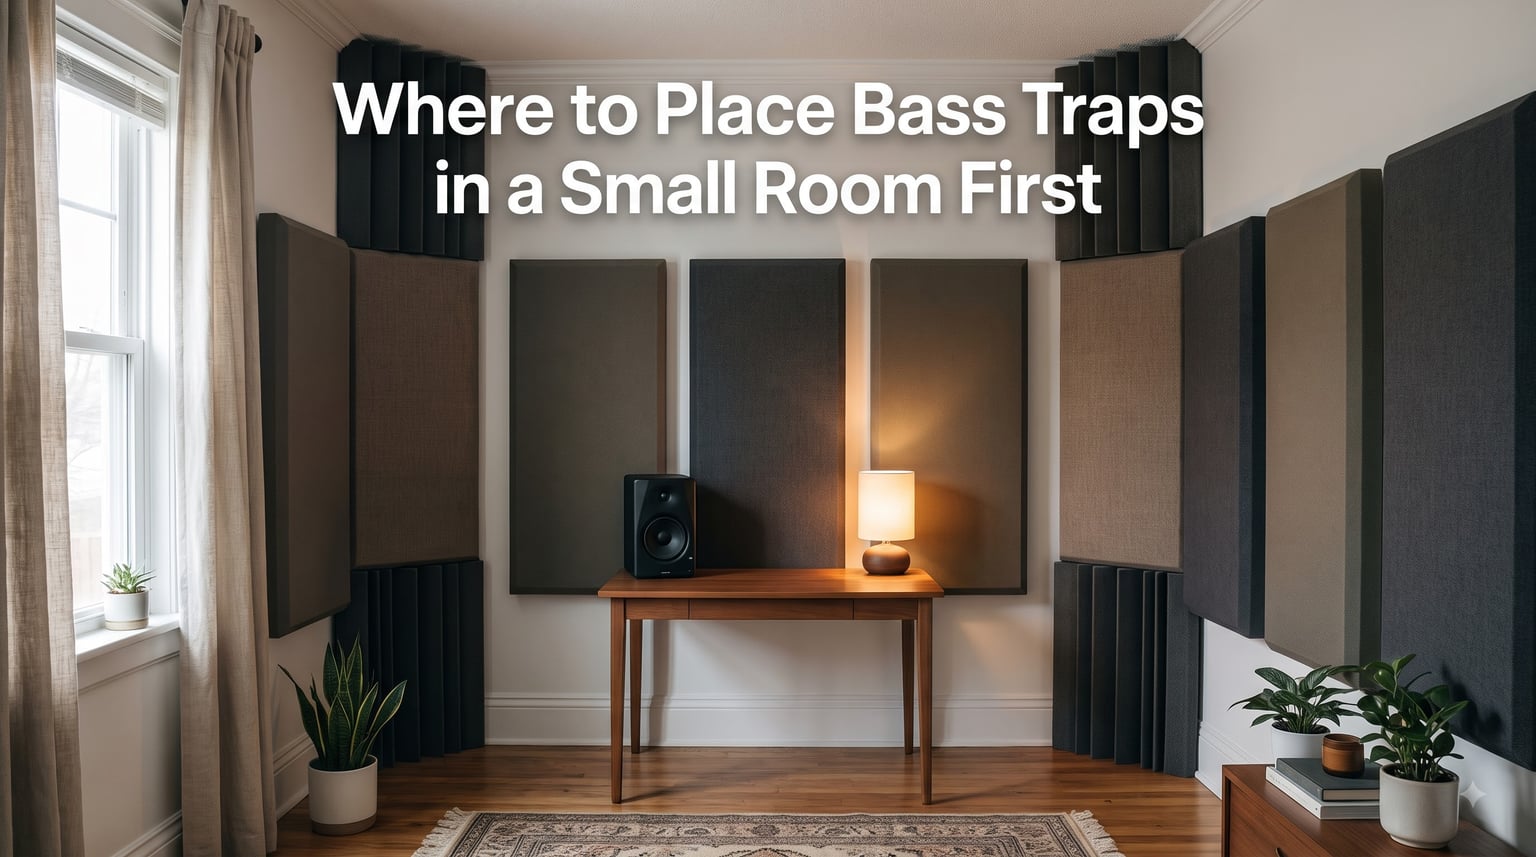
If you have ever recorded or mixed in a small room, you know the problem: kick drums that sound boomy, bass guitars that disappear, vocals that feel muddy. The culprit is almost always untreated low frequencies building up where they should not. Knowing where to place bass traps in a small room first solves most of these problems before you spend a fortune on gear.
I built my first home studio in a 10 by 12 foot bedroom, and the difference between an untreated room and a properly corner-treated one was night and day. This guide walks you through the priority order for bass trap placement, the science behind why corners work, and the minimum treatment you need for a small space.
Table of Contents
What Bass Traps Actually Do (And Why Small Rooms Need Them Most)
Bass traps are acoustic absorbers designed specifically to soak up low frequency sound waves, typically those below 200 Hz. Unlike regular acoustic panels that handle mids and highs, bass traps are denser, thicker, and built to deal with the long wavelengths that cause standing waves in compact spaces.
In small rooms, low frequencies behave badly. A 100 Hz wave is about 11 feet long, which means it bounces between your walls multiple times before dying out. These reflections overlap and create hot spots (loud bass in some spots) and nulls (no bass in others). The result is a frequency response that looks like a mountain range instead of a smooth line.
Your brain hears this uneven bass as “boomy,” “muddy,” or “honky.” Mix decisions made in a room like this rarely translate to other playback systems. That is why bass traps are the single most important acoustic treatment for any small recording or mixing room.
Room Modes and Standing Waves Explained
A room mode is a frequency at which your room dimensions naturally reinforce a particular wavelength. If your room is 10 feet long, the room mode sits at about 56 Hz (the speed of sound divided by twice the room length). Every small room has dozens of these modes stacked together.
Standing waves happen when a sound wave bounces back on itself in phase with the original. The pressure builds up at boundaries (walls, ceiling, floor) and cancels out in the middle of the room. This is exactly why corner placement matters so much: corners are the points of highest pressure for low frequencies.
The Science: Pressure, Velocity, and Why Corners Matter
Sound has two measurable components: sound pressure (the force of the wave on your eardrum) and particle velocity (how fast air molecules move back and forth). These two are 90 degrees out of phase, meaning when one is at its peak, the other is at zero.
At a wall, floor, or ceiling, pressure is at maximum and velocity is at zero. In the middle of the room, it is the opposite: pressure is moderate, but velocity is highest. This matters because each type of bass trap works on a different principle.
Porous absorbers (mineral wool, fiberglass, acoustic foam) need air movement to work. They convert particle velocity into heat through friction. So a porous trap placed in the middle of a wall does almost nothing for bass, but the same material placed where velocity is highest can be effective if it is thick enough.
Pressure-based absorbers like membrane traps and Helmholtz resonators work by vibrating in sympathy with the pressure wave. They go exactly where pressure is highest: against a rigid boundary, ideally in a corner.
The quarter wavelength rule says a porous absorber needs to be roughly one quarter as thick as the wavelength it is trying to absorb to be effective. A 100 Hz wave is about 11 feet long, so you would need a 2.75 foot thick panel for full efficiency. That is why corners are so important: by straddling a corner, a single 4 to 6 inch panel gains effective thickness because the air on either side acts as additional absorption.
Where to Place Bass Traps in a Small Room First: Priority Order
Here is the priority list I recommend for any small room, especially bedroom studios and home recording setups. Start at the top and work down based on your budget and available wall space.
Priority 1: Wall-Wall Vertical Corners (Floor to Ceiling)
The very first place to put bass traps in a small room is the vertical corners where two walls meet. Front left and front right corners behind your monitors should be your absolute starting point. These corners catch the strongest bass buildup in any rectangular room because the front wall reflects directly back at you.
For maximum effect, the trap should span the full height from floor to ceiling. A corner trap that stops at ear level leaves the upper and lower parts of the corner untreated, where bass pressure is just as strong.
Priority 2: Wall-Ceiling Corners (Tri-Corners)
Once your vertical corners are covered, move to the tri-corners, where two walls meet the ceiling. These are the points of highest pressure in the entire room because three rigid surfaces converge. Bass waves pile up here even more than in vertical corners.
Tri-corner traps can be smaller than wall-wall traps because the geometry already concentrates the energy. A 4 inch thick panel straddling a ceiling corner often outperforms a 6 inch panel flat on a wall.
Priority 3: Wall-Floor Corners
Wall-floor corners are often forgotten, but they behave acoustically like tri-corners because the floor (especially if it is concrete or hardwood over joists) is a rigid boundary. If your vertical corner traps cannot extend all the way to the floor due to furniture or doors, treat the floor corner separately.
Priority 4: Behind the Monitors and Front Wall
After the corners are handled, the next biggest payoff comes from the front wall behind your monitors. This is where direct reflections from your speakers hit first, and any bass bouncing back interferes with what you hear. Even a couple of 2 by 4 foot broadband panels flat on the front wall will tighten up the low end noticeably.
Priority 5: First Reflection Points (Mids and Highs)
Once bass is under control, you can move on to first reflection points at the side walls, ceiling, and rear wall. These mainly affect mids and highs, so they are lower priority for bass trap placement but still important for an accurate monitoring environment.
Types of Bass Traps and Where Each Works Best
Not all bass traps work the same way. Choosing the right type for each location will save you money and give you better results.
Porous (Velocity) Absorbers
Porous absorbers are made of dense fibrous material like mineral wool, rockwool, or rigid fiberglass. They absorb by slowing down air particles as they pass through the fibers. For bass, they need to be thick (4 inches minimum, ideally 6+ inches) and dense (around 3 to 6 pounds per cubic foot).
Best locations: vertical corners, front wall, anywhere you can straddle a boundary. Place them where the trap contacts two surfaces for maximum effectiveness.
Membrane (Pressure) Absorbers
Membrane absorbers use a thin flexible panel (often plywood or MDF) over a sealed air cavity with damping material inside. They absorb a specific frequency range based on the mass of the membrane and depth of the cavity. They are tuned traps, meaning they target one or two problem frequencies.
Best locations: corners and wall surfaces where you have identified specific problem frequencies, usually below 100 Hz.
Helmholtz Resonators
A Helmholtz resonator is a tuned cavity with a narrow opening, similar to a tuned port on a speaker. It absorbs a very specific frequency with high efficiency. These are more complex to build and are usually tuned to the worst room mode.
Best locations: where you have measured a single severe problem frequency, often mounted inside a wall cavity or as a standalone unit.
Why Thin Acoustic Foam Does Not Work for Bass
Standard 2 inch acoustic foam is almost useless for bass frequencies. The quarter wavelength rule means a 2 inch panel can only effectively absorb frequencies around 1700 Hz and above. For 100 Hz bass, you would need 33 inch foam, which is not happening. Foam still has a place for treating mids and highs, but it is not a bass trap.
How Many Bass Traps Does a Small Room Actually Need?
The honest answer is more than you think, but less than you fear. Here is the practical breakdown based on real bedroom studios and home recording spaces.
Minimum Viable Treatment
For a very small room (under 150 square feet), start with at least 4 corner traps covering the front left, front right, rear left, and rear right wall-wall corners. Add 2 to 4 tri-corner traps for the ceiling corners if budget allows. This bare minimum often gives a 60 to 70 percent improvement in bass clarity.
Recommended Treatment for Bedroom Studios
For a dedicated bedroom studio, plan for 8 to 12 broadband bass trap panels distributed across all vertical corners, tri-corners, and the front wall. Coverage of 25 to 35 percent of your wall surface area is a common target. Most acoustic designers aim for at least 30 percent coverage in small rooms.
What If I Can Only Afford a Few?
If you can only afford 2 to 4 traps, put them in the two front corners behind your monitors and the two ceiling tri-corners above your mix position. This single change is more impactful than any other treatment you could add. I have seen 100 square foot rooms transformed by just four well placed corner traps.
DIY Bass Trap Construction Basics
Building your own bass traps is one of the best ways to get effective treatment on a small budget. A DIY trap costs roughly 40 to 60 percent less than a comparable commercial unit and works just as well when built correctly.
Materials You Will Need
For each 4 inch thick corner trap (24 by 48 inches), you need: one sheet of 2 inch rigid mineral wool (like Rockwool 60 or Owens Corning 703), one 1 by 2 inch wood frame, breathable fabric (burlap or acoustic cloth), staples, and a staple gun. Two sheets stacked give you 4 inches of absorption. Total material cost is around 30 to 40 dollars per trap.
Basic Construction Steps
Step 1: Cut the wood frame to size. A simple rectangular frame around the perimeter of the insulation is enough.
Step 2: Wrap the mineral wool in fabric, leaving the back open so it can straddle the corner. Pull the fabric tight and staple it to the wood frame.
Step 3: Add corner mounting brackets or simple L brackets to attach the trap to the wall corner.
Step 4: Mount the trap so it spans floor to ceiling in the vertical corner. Use two or three brackets per trap.
Corner Straddling vs Flat Mounting
For maximum bass absorption, the trap must straddle the corner, meaning it sits in the corner with one panel facing each wall. This doubles the effective thickness and uses the corner geometry to boost low frequency absorption. A trap flat against a single wall needs to be twice as thick to perform the same.
Common Bass Trap Placement Mistakes to Avoid
Even good intentions can go wrong. Here are the most common mistakes I see in small room setups.
Treating Only the Visible Wall Space
Hanging traps at ear level only wastes most of their potential. Bass pressure is just as strong at the floor and ceiling as it is at ear level. Floor to ceiling coverage is critical.
Using Thin Foam Everywhere
Acoustic foam tiles look impressive but do almost nothing for bass. If you have already bought foam, mount it for first reflection points on side walls and ceiling for mids and highs. Then invest in proper bass traps for the corners.
Ignoring One Corner
Asymmetric treatment causes the stereo image to shift to one side. Treat all vertical corners and all ceiling corners equally. If you cannot afford every corner, treat matching pairs (front left and front right together, for example).
Placing Traps in Front of Windows or Doors
Doors and windows cannot be moved, so work around them. Treat the wall space above and beside them rather than skipping those areas entirely. A 12 inch strip of bass trap above a door is better than nothing.
Stopping at the Front Wall
The front wall behind your monitors gets all the attention, but the rear wall reflects bass right back at your mix position. The rear corners and rear ceiling corners are equally important.
FAQs
Where to put bass traps in a small room?
Start with the four wall-wall vertical corners, especially the front left and front right corners behind your monitors. Then add wall-ceiling tri-corners, followed by wall-floor corners, and finally broadband panels on the front wall behind the monitors.
Where not to put bass traps?
Avoid placing bass traps flat on walls at ear level only, since low frequency pressure is just as strong at the floor and ceiling. Do not rely on thin 2 inch acoustic foam for bass control, as it cannot effectively absorb frequencies below 200 Hz.
How many bass traps do you need in a room?
A small room needs a minimum of 4 to 8 bass traps covering all vertical corners and ceiling tri-corners. For dedicated bedroom studios, plan on 8 to 12 panels covering 25 to 35 percent of wall surface area for proper low frequency control.
Should bass traps go floor to ceiling?
Yes, bass traps should span from floor to ceiling in vertical corners. Low frequency pressure is high at every part of the corner, not just at ear level. Floor to ceiling coverage maximizes the trap’s effective absorption area and matches the behavior of standing waves.
Final Thoughts on Bass Trap Placement
Where to place bass traps in a small room comes down to one rule: corners first, floor to ceiling, and then everywhere else. The vertical wall-wall corners and the ceiling tri-corners are where bass pressure concentrates, so that is where the absorption needs to go.
Start with a minimum viable setup of 4 to 6 corner traps if budget is tight, and add more as you can. The improvement in your low frequency response will be immediate and dramatic, and you will finally hear what your recordings and mixes actually sound like.