
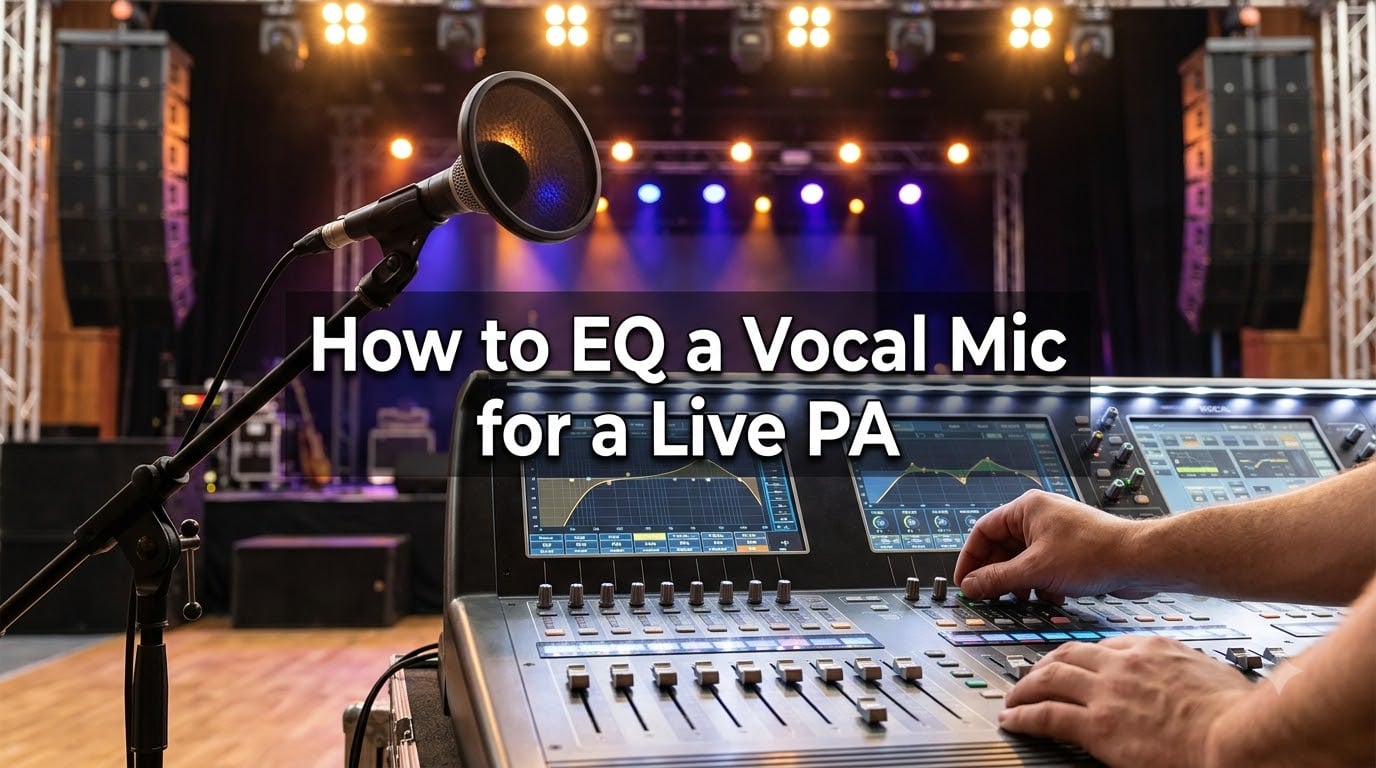
EQ (equalization) for a live vocal mic means adjusting specific frequency ranges to remove problems, boost clarity, and help the voice cut through the mix. I have run sound for hundreds of shows over the past decade, and the process I am walking you through below is the same one I use at every gig. You will learn the step-by-step method for EQing a vocal mic on a live PA, why each frequency band matters, and how to avoid feedback without killing your tone.
Table of Contents
What Is EQ and Why It Matters for Live Vocals
EQ is the process of boosting or cutting specific frequency ranges in an audio signal. For live vocals, your goal is simple: make the singer sound clear, present, and natural while preventing feedback. Unlike studio mixing where you can layer tracks and blend, live sound puts the vocal front and center. If the vocal EQ is wrong, the audience notices immediately.
Live vocal EQ differs from studio work in three key ways. You only get one chance to get it right during the show. You cannot fix a muddy vocal with reverb or delay. And every frequency decision affects feedback risk because microphones and speakers share the same room.
That is why I teach my students to follow a specific order: filter first, cut second, boost last. We will cover each step in detail, but understanding this philosophy matters more than memorizing numbers.
Understanding the Vocal Frequency Range
The human voice spans roughly 80 Hz to 12 kHz, but each region of that range has a distinct character. Knowing what lives where is the foundation of every EQ decision you make at FOH (front of house).
Here is the frequency range breakdown I reference at every soundcheck:
- 80 Hz and below: Sub-low rumble, mic handling noise, stage vibration. Always cut with a high-pass filter.
- 80-200 Hz: Chest resonance, warmth, body. Cut here sparingly to thin muddy male vocals.
- 200-400 Hz: The mud zone. Most male vocals need a small cut here to clear up the mix.
- 400-800 Hz: Honk and boxiness. A narrow cut can clean up a “smiley” sounding mic.
- 800 Hz-2 kHz: Lower presence. Boost lightly for warmth and forwardness.
- 2-5 kHz: Presence and intelligibility. This is where vocals cut through the band.
- 5-9 kHz: Sibilance range (harsh “S” and “T” sounds). Often needs control.
- 9-12 kHz: Air and sparkle. A gentle boost adds breath and openness.
- 12 kHz and above: Mostly hiss and cymbals. Cut to reduce noise.
When you understand these regions, you stop guessing. A singer complains they sound “muddy” and you know to look at 200-400 Hz. They sound “honky” and you reach for 500-800 Hz. This mental map is what separates trained engineers from beginners.
Parametric EQ vs Graphic EQ: Which to Use Live
Most digital consoles give you both parametric and graphic EQ options on every channel. Knowing when to use each one saves time and produces better results.
Parametric EQ lets you choose the exact frequency, the amount of cut or boost (in dB), and the bandwidth (Q factor). It is surgical. I use it for high-pass filtering, removing specific feedback frequencies, and shaping the core vocal tone. When I want to cut 300 Hz by 3 dB with a narrow Q, parametric is the only option.
Graphic EQ shows fixed frequency bands (usually 31 bands) with sliders. You can only cut or boost at those exact frequencies, and you cannot adjust the bandwidth. It is fast and visual. I use graphic EQ for overall room tuning, monitor sends, and quick feedback suppression when I do not have time to hunt for the exact ringing frequency.
In practice, you will use both on every channel. Set up your high-pass filter and core vocal shaping on the parametric section. Then assign a graphic EQ to the channel insert for room tuning and live adjustments during the show. This hybrid approach gives you surgical precision and fast hands-on control.
Step-by-Step: How to EQ a Vocal Mic for a Live PA
Below is the exact workflow I follow at every soundcheck. It works for any venue, from coffee shops to 500-seat halls, and on any analog or digital console. Follow these steps in order and you will have a clean, present vocal that sits well in the mix.
Step 1: Start With a Flat EQ
Before touching any EQ, reset everything to flat (zero). All bands at 0 dB, all filters off, all sends muted. I cannot tell you how many times I have watched newer engineers EQ a channel that someone else had set up, fighting the previous settings instead of starting clean.
Set your channel gain so the vocal is sitting around -18 dBFS on the meters during the loudest passage. This gives you headroom for EQ boosts and dynamics processing later.
Step 2: Apply a High-Pass Filter at 80-100 Hz
Engage the high-pass filter (HPF) on the vocal channel. Set it to 80 Hz for most male vocals and 100 Hz for female vocals. The slope should be 12 dB/octave or 18 dB/octave if your console offers it.
This single step removes stage rumble, handling noise, wind, and proximity effect buildup. It is the most powerful EQ move you can make on a live vocal. A forum regular on Gearspace put it perfectly: “Your most powerful EQ is your high-pass filter. Use it to make the voice sound like you’re talking to them normally.”
If the vocal still sounds boomy after the HPF, sweep it up to 120 or 150 Hz. Some singers with very bass-heavy voices need more aggressive filtering.
Step 3: Cut Mud in the 200-400 Hz Range
Have the singer speak or sing at performance volume into the mic. Sweep a narrow-Q cut (Q around 2-3) slowly through the 200-400 Hz range while listening for the mud to disappear. Start with a 3 dB cut.
Most male vocals need a cut somewhere in this region, often around 250-300 Hz. Female vocals usually need less, but check anyway. The “swallowing the mic” technique many singers use exaggerates low-end buildup, so this cut often helps them too.
Step 4: Add a Presence Boost at 2-5 kHz
Once the mud is gone, add a wide-Q boost (Q around 1) of 2-4 dB at 2.5-3.5 kHz. This is the presence range, where human hearing is most sensitive to vocal consonants. A boost here makes lyrics intelligible even at low volumes or in noisy rooms.
One pro tip from the live sound community: “Sometimes a little boost around 3kHz can do wonders for intelligibility.” This is exactly right. Be conservative though. More than 6 dB of boost in this range starts to sound harsh and edgy, especially on already-bright condenser mics.
Step 5: Add Air at 10-12 kHz if Needed
If the vocal sounds dull or dark, add a gentle high-shelf boost of 2-3 dB starting at 10 kHz. This adds breath and openness without bringing up sibilance.
If the mic is already bright (many condensers are), skip this step. If the room is dark and the audience seems disengaged, try adding air. Trust your ears more than the chart.
Step 6: Ring Out Feedback Frequencies
The final step before performance is “ringing out” the channel. We will cover this process in detail in the next section, because feedback elimination deserves its own dedicated walkthrough.
How to Ring Out a Mic to Eliminate Feedback
Ringing out is the process of finding the specific frequencies that feedback first, then cutting them by 3-6 dB with a narrow Q. This gives you extra gain before feedback, which means more volume for the singer without the system squealing.
This is the technique that won the featured snippet on Google for live vocal EQ. Here is the step-by-step process:
- Mute all other channels except the vocal you are ringing out.
- Slowly raise the channel fader until the system just begins to feedback on a single tone.
- Identify the frequency of that feedback tone by ear or by watching the graphic EQ react.
- Pull the fader back down to stop the feedback.
- Apply a narrow-Q cut (Q around 5-8) at that exact frequency, between 3-6 dB deep.
- Repeat the process to find the next feedback frequency. Most vocal mics will ring out at 3-5 different frequencies.
- Stop when further ringing would require cuts deeper than 6 dB. Going deeper usually creates audible holes in the vocal tone.
Common feedback frequencies for vocal mics include 200 Hz, 400 Hz, 800 Hz, 1.6 kHz, and 3.2 kHz. These tend to be the resonant frequencies of the room and the mic itself. Once you have identified and cut them, you will find you can push the vocal much louder before feedback returns.
Handling Proximity Effect on Stage
Proximity effect is the bass boost that happens when a singer gets close to a directional (cardioid) microphone. It is a physical phenomenon caused by the pressure-gradient design of most live vocal mics. The closer they get, the more low-end builds up.
This is a major problem on stage because singers rarely hold the mic at a consistent distance. They lean in for emotional passages, pull back for quiet lines, and sometimes “eat” the mic on powerful notes. Each position changes the low-end balance.
The fix is to apply a slightly higher high-pass filter cutoff than usual. If your standard HPF is at 80 Hz, try 100-120 Hz for a singer who works the mic closely. This rolls off the proximity buildup without thinning the voice. Some engineers also keep a gentle 2-3 dB cut at 150-200 Hz ready to pull in when a singer gets aggressive with the mic technique.
Controlling Sibilance and Harshness Live
Sibilance is the harsh “S”, “T”, and “CH” sound that can cut through a mix like a knife. It lives mostly between 5 kHz and 9 kHz, with the worst offenders around 6-8 kHz. Some mics exaggerate it (many condenser mics do), and some singers are naturally more sibilant than others.
For mild sibilance, a gentle dip in the high shelf or a narrow cut at 6 kHz works well. For more aggressive cases, engage the de-esser if your console has one. A de-esser is a dynamic EQ that only acts when sibilance crosses a threshold, leaving the rest of the high-end untouched.
Dynamic EQ takes this concept further. Instead of a static cut, it listens for problem frequencies and only reduces them when they get loud. This is ideal for live use because the singer might be clean during verses but sibilant on choruses. A dynamic EQ at 7 kHz with a 3 dB reduction threshold handles both situations automatically.
Monitor Wedge EQ for the Performer
Monitor wedge EQ is often forgotten, but it is just as important as FOH EQ. The singer needs to hear themselves clearly, and a poorly EQed monitor wedge causes the singer to push harder, which causes feedback, which causes you to turn them down. It is a vicious cycle.
The key difference with monitor EQ is less low-end. Cut 200 Hz and below more aggressively in the monitor send. Low frequencies bounce off the stage and muddy the wedge mix. They also eat up amplifier power without helping the singer hear pitch or lyrics.
Boost presence in the monitor wedge, around 3-4 kHz, so the singer can hear consonants clearly. Add air above 10 kHz for breath cues. Avoid boosting anything below 100 Hz in the monitor, it just causes feedback.
Male vs Female Vocal EQ Differences
Male and female voices have different fundamental frequencies, and that affects EQ decisions. Male vocals typically sit between 85 Hz and 180 Hz fundamental, while female vocals sit between 165 Hz and 330 Hz fundamental.
For male vocals, you will usually cut more in the 200-400 Hz range and apply the high-pass filter lower (around 80 Hz). For female vocals, raise the HPF to 100-120 Hz and pay more attention to the 3-5 kHz presence range, where female formant frequencies naturally sit.
Female vocals often need less midrange mud removal but more careful sibilance control. Male vocals benefit from more aggressive proximity effect compensation if the singer works the mic closely.
Common Live Vocal EQ Mistakes to Avoid
After running sound at hundreds of shows, I have seen the same mistakes over and over. Avoid these and you will sound better than 90% of live engineers.
Boosting instead of cutting. If something sounds bad, cut it. If something sounds missing, boost it. Boosting problem frequencies makes them worse.
Over-EQing during the show. Once the show starts, make small moves only. Major EQ changes mid-song confuse the mix and rarely help. Soundcheck is for big moves, the show is for tiny corrections.
Ignoring the room. Every room is different. A vocal EQ that works in a dead room will sound muddy in a reflective hall. Always spend the first song listening and adjusting for the space.
Forgetting the mic type. A Shure SM58 needs less high-end than a condenser mic. A bright mic in a bright room will feedback faster. Match your EQ to the mic and the room, not just the singer.
How do I EQ a live vocal mic?
Start with a flat EQ, engage a high-pass filter at 80-100 Hz, cut mud in the 200-400 Hz range, add a wide presence boost at 2.5-3.5 kHz, and ring out feedback frequencies with narrow-Q cuts.
What should a live vocal EQ look like?
A live vocal EQ typically includes a high-pass filter at 80-120 Hz, a small cut around 250-350 Hz to reduce mud, a gentle boost at 2.5-3.5 kHz for presence, and possibly an air shelf above 10 kHz.
What is the best EQ setting for a mic?
The best starting EQ setting for a live vocal mic is a high-pass filter at 80-100 Hz with all other bands flat. Adjust from there based on the singer, mic, and room.
How do I EQ vocals on a PA?
To EQ vocals on a PA, set channel gain properly first, apply a high-pass filter, cut problem frequencies, add presence, then ring out feedback by slowly raising gain and cutting the ringing frequencies with narrow EQ cuts.
What frequencies make vocals clearer live?
A boost at 2.5-3.5 kHz adds intelligibility, and a high-shelf boost above 10 kHz adds air. Cutting mud at 200-400 Hz also increases perceived clarity.
How do I stop vocal feedback without killing tone?
Ring out the mic by slowly raising gain until feedback, identifying the frequency, pulling gain down, then applying a narrow-Q cut of 3-6 dB at that frequency. Repeat for 3-5 problem frequencies.
Final Thoughts on EQing Live Vocal Mics
Learning how to EQ a vocal mic for a live PA is a skill that improves with every show you mix. The step-by-step process I shared above works as a reliable starting point, but your ears are the ultimate guide. Start flat, filter first, cut second, boost last, then ring out feedback.
Practice this workflow at your next soundcheck and you will hear the difference immediately. Your vocals will sit forward in the mix, your singers will ask you back, and you will gain more gain before feedback than you thought possible. Bookmark this guide for your next live gig and refer back to it whenever you need a refresher on live vocal EQ.
1 thought on “How to EQ a Vocal Mic for a Live PA (September 2026) Step-by-Step”