
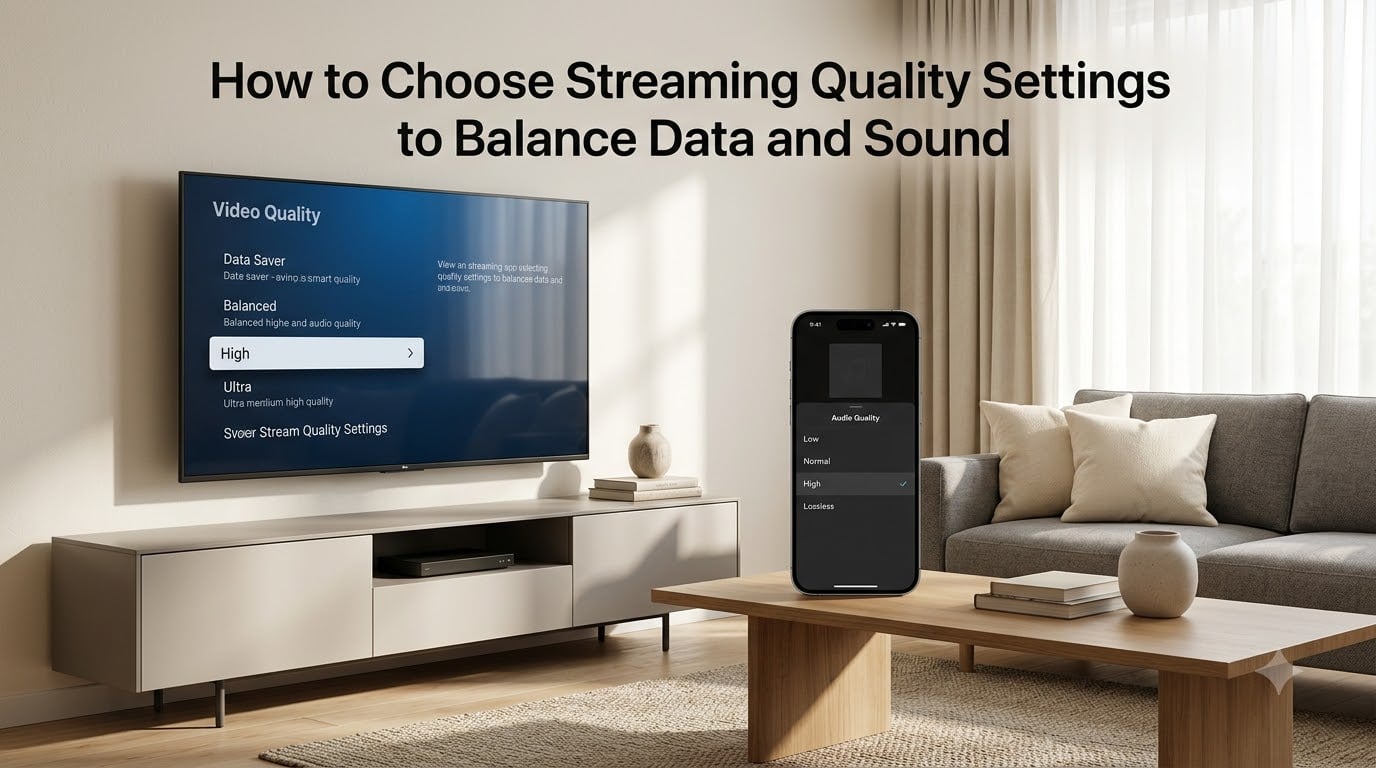
I burned through 90 GB in two weeks last year without realizing it. The culprit was simple: my streaming apps were set to the highest quality by default, and I never touched the settings. Once I started digging into how to choose streaming quality settings that actually fit my data plan, my monthly bill dropped by more than half.
This guide is everything I wish someone had told me earlier. I’ll show you exactly how much data each quality tier eats per hour, what bitrate numbers matter, and how to dial in the right balance for video and audio on every major platform. Whether you’re on a metered connection, share data with a family, or just want crisper sound for your music sessions, the next 15 minutes will save you from the same mistakes I made.
Table of Contents
What Are Streaming Quality Settings and Why Do They Matter
Streaming quality settings are the knobs that control how much detail an app sends to your screen or speaker every second. They decide the resolution you see, the bitrate your network carries, and the audio fidelity you hear. When those numbers go up, everything looks and sounds better. When they go down, you save data and battery.
Three things work together inside every streaming session: resolution (how sharp the picture is), bitrate (how much data is pushed per second), and bandwidth (how fast your connection can pull that data). I think of it like a faucet. Bitrate is the flow rate, bandwidth is the pipe size, and resolution is how fancy the water stream looks once it lands.
Getting this balance right matters more in 2026 than it did a few years ago. Streaming services now offer everything from grainy SD to full 4K HDR with Dolby Atmos, and a single 4K movie can eat 7 GB or more. Pick too high and your monthly data cap vanishes. Pick too low and your music sounds flat, your movies look pixelated, and you spend more time staring at the buffer wheel than the content.
Understanding Video Resolution Tiers (SD, 720p, 1080p, 4K)
Resolution is the number of pixels packed into every frame, and it’s the easiest quality setting to understand because you can literally see the difference. Here’s the lineup you’ll find in every major app in 2026.
- SD (480p): About 640 x 480 pixels. Roughly 0.3 megapixels per frame. Works fine on older phones, small tablets, and kitchen-counter TVs. Honestly fine for sitcoms and news.
- HD (720p): 1280 x 720 pixels, or about 0.9 megapixels per frame. The minimum most people consider “watchable” on a phone. Smooth, no obvious blur.
- Full HD (1080p): 1920 x 1080 pixels, about 2 megapixels per frame. The sweet spot for most laptops and bedroom TVs. Sharp without burning bandwidth.
- QHD (1440p): 2560 x 1440 pixels, around 3.7 megapixels. Common on gaming monitors and premium phones. Looks noticeably crisper than 1080p.
- 4K UHD (2160p): 3840 x 2160 pixels, about 8.3 megapixels per frame. Cinematic sharpness but four times the pixels of 1080p, so the data cost climbs fast.
- 8K: 7680 x 4320 pixels, about 33 megapixels per frame. Still rare in 2026, mostly limited to high-end YouTube demos and specialty cameras.
My rule of thumb: bigger screen, pick a higher resolution. Smaller screen, dial it down. A 6-inch phone at 4K looks nearly identical to 1080p to the human eye, but the data cost is wildly different.
Bitrate Recommendations by Resolution
Bitrate is the hidden number behind every quality setting. It tells you how much data is moving every second, measured in megabits per second (Mbps) or kilobits per second (kbps). Higher bitrate means more detail retained during compression, which means sharper images and cleaner audio.
Here are the bitrate ranges I use as reference points, drawn from what streaming platforms themselves publish and what Vimeo and YouTube recommend for creators in 2026.
- SD (480p): 1,000 to 2,500 kbps video bitrate. Tight compression is fine because there’s not much detail to lose.
- 720p HD: 2,500 to 5,000 kbps. The most common sweet spot for live streamers on a budget.
- 1080p Full HD: 4,500 to 8,000 kbps. Netflix sits in this range for HD streams.
- 1440p QHD: 9,000 to 14,000 kbps. Often reserved for live gaming creators.
- 4K UHD: 15,000 to 25,000 kbps or higher. Disney+ recommends 25 Mbps for stable 4K streams.
For audio, most music platforms use 96 to 320 kbps for compressed streams, while lossless tiers push 1,411 kbps or higher. I’ll break down audio tiers in more detail below.
One quick note: bitrate caps don’t matter if your network can’t deliver them. If your home internet tops out at 10 Mbps, picking a 25 Mbps 4K setting only buys you buffering. Always match your bitrate target to roughly 80 percent of your measured connection speed.
Data Usage per Hour by Quality Setting
This is the number most readers want, so let’s put it all in one table. The values below are widely cited averages from streaming platforms and third-party testing, useful for planning monthly data budgets in 2026.
- Audio, low (24 kbps): About 10 MB per hour. The Spotify “low” tier on cellular.
- Audio, normal (96 kbps): About 43 MB per hour. The default Spotify setting.
- Audio, high (160 kbps): About 72 MB per hour. Spotify’s “high” tier for Ogg Vorbis.
- Audio, lossless (1,411 kbps): About 635 MB per hour. Apple Music Lossless or Tidal CD-quality.
- Audio, Hi-Res (9,216 kbps): About 4.0 GB per hour. Tidal Max and similar audiophile tiers.
- SD video (480p): About 700 MB per hour, or roughly 0.7 GB.
- HD video (720p): About 1.5 GB to 2 GB per hour.
- Full HD (1080p): About 3 GB per hour on average.
- 4K UHD: About 7 GB per hour, sometimes higher with HDR.
Three hours of 1080p streaming a day adds up to about 270 GB a month. Add a 4K Netflix movie night and you can blow past a 1 TB cap with a single household. I’ll show you practical cap strategies further down, but first the audio deep dive.
Audio Quality Settings: Bitrate, Codecs, and Lossless
Audio quality settings deserve their own section because most guides skip them entirely, and yet our team hears the difference almost immediately. Audio is also where data adds up quietly in the background while music plays for hours on end.
Music platforms split their tiers into a few buckets. Here’s the breakdown I keep handy when friends ask which setting to pick.
- Low (24 to 64 kbps): Saves the most data. Sounds thin, especially on bass-heavy tracks. Best for podcasts and spoken-word content on cellular.
- Normal (96 to 128 kbps): The standard tier for most free plans. AAC at 128 kbps is the most common codec here. Plenty of detail for casual listening through phone speakers.
- High (160 to 320 kbps): Where compressed music starts sounding really good. Spotify uses Ogg Vorbis at 320 kbps for premium users. You’ll hear cymbals decay, breath in vocals, and tighter bass.
- Lossless CD-quality (1,411 kbps): Bit-for-bit identical to a CD. Apple Music, Tidal, and Amazon Music HD offer this. You need decent headphones or speakers to actually notice.
- Hi-Res (2,304 to 9,216 kbps): Studio-grade audio above CD quality. Tidal Max uses 9,216 kbps for what they market as MQA. Only audible on high-end gear in a quiet room, and the data cost is steep.
Codecs matter as much as bitrate. AAC and Ogg Vorbis handle compression differently than MP3, generally preserving more detail at the same kbps. For music streaming, our team agrees that 256 kbps AAC is the crossover point where most listeners stop hearing compression artifacts on regular headphones.
If you’re deciding between high compressed and lossless based on data alone, here’s the math. Listening five hours a day at 320 kbps uses about 720 MB monthly. The same five hours at CD-quality lossless uses about 95 GB. That single change can flatten a 100 GB mobile data plan by itself.
Platform-Specific Settings: Netflix, Spotify, YouTube, Disney+
Every major platform hides its quality settings in slightly different places, and the default often picks the highest setting your device can handle. That’s how most people accidentally burn through data. Here’s exactly where to find the controls in 2026.
- Netflix: App profile settings, then “Playback specifications,” and pick Low, Medium, or High. Low uses 0.3 GB per hour, Medium 0.7 GB, High 3 GB, and Ultra HD 7 GB. I switch to Medium whenever I’m on cellular.
- Spotify: Settings and privacy, then “Audio quality.” Choose Automatic, Low (24 kbps), Normal (96 kbps), or High (320 kbps on Premium). Set “Data saver” on cellular for automatic switches.
- YouTube: Tap the gear icon on any video and look for “Quality.” Options are Auto, 144p, 240p, 360p, 480p, 720p, 1080p, and 4K. The mobile app has a separate setting under “Video quality preferences” for mobile data.
- Disney+: Account settings, then “Playback settings.” Disney+ labels them Data Saver, Standard, Medium, High, and Automatic. Medium is the recommended balance for HD without blowing through data.
- Apple Music: Settings, then “Music,” and pick between High Quality (256 kbps AAC), Lossless, or Hi-Res Lossless. You can toggle “Lossless over cellular” off to keep data usage in check.
- Tidal: Settings, “Quality,” and choose Normal, High, Lossless, or Max. Max hits 9,216 kbps and dwarfs even 4K video streaming in data cost.
For live creators, OBS and Streamlabs both have streaming quality settings in their output panels. Set encoder to x264 or hardware, choose resolution, set bitrate, and you’re done. vMix users have a dedicated Streaming Quality window with the same controls.
Adaptive Streaming: How Services Adjust Quality Automatically
Adaptive bitrate streaming is the technology that does all this work for you when you don’t touch any settings. Every major service uses it. The app detects your available bandwidth in real time and switches between quality tiers on the fly.
When your Wi-Fi is strong, the app picks higher bitrates and resolution. The moment the signal weakens, it downshifts to a smoother but lower-quality version to avoid buffering. You’ll see this most clearly on YouTube and Netflix, which swap between 1080p and 480p within seconds when you walk across the house.
The catch: adaptive streaming defaults to “highest quality possible.” That’s not always what you want. If you prefer to keep your data usage predictable, turn off the automatic quality option and pick a fixed tier. You trade some picture clarity for a stable data budget.
Mobile vs Desktop vs TV Quality Differences
Picking the right quality also depends on the screen you’re watching. Our team tested the same video at 4K across a 5G phone, a 13-inch laptop, and a 65-inch 4K TV, and the difference was dramatic.
- Mobile phones (5 to 7 inches): 720p looks nearly identical to 4K on the same screen. Choose 720p or 1080p and save 60 to 75 percent of your data. Most people literally cannot tell the difference at arm’s length.
- Tablets and laptops (9 to 15 inches): 1080p is the realistic ceiling. 4K starts to add visible sharpness on a 15-inch screen at close range, but the upgrade is subtle.
- TVs (40 to 85 inches): Resolution matters a lot more here. A 65-inch 4K TV at 1080p looks softer than the same content at native 4K, especially on movie detail. Choose the highest your bandwidth can sustain.
Mobile data usage is where most overconsumption happens. Cellular connections also tend to fluctuate, so apps often crank up quality during strong signal moments, then back down when your train enters a tunnel. Set a manual cap if your data plan has hard limits.
Data Cap Management Strategies
Once you know your numbers, the next step is making a plan. I’ve collected strategies from our own team and from real users on Reddit and the CordCutters forum who wrestle with monthly caps every billing cycle.
- Set quality to “Standard” by default: 480p SD cuts your video usage to roughly 0.7 GB per hour. Watch most content at that tier and bump up only for movies or events.
- Use Wi-Fi for binge sessions: Save cellular data for short, on-the-go videos. Apps like Netflix and Disney+ let you mark Wi-Fi-only downloads.
- Download instead of streaming: One hour of downloaded content uses about the same data as streaming it once, but you don’t use any data on re-watches. Great for commutes and flights.
- Switch music to Normal quality on cellular: 96 kbps vs 320 kbps saves roughly 85 percent of music data. On Wi-Fi, crank it back up.
- Turn off autoplay: YouTube and Netflix love to roll into the next video automatically. That single feature can burn 1 to 2 GB of unexpected data each session.
- Track your data with the app’s built-in monitor: Both Android and iOS show per-app data usage. Check it weekly and you’ll spot the offenders fast.
One member of our team capped her household at 500 GB and ran into the same wall every month. She switched all TVs from 4K to 1080p, set Spotify to Normal on phones, and turned off autoplay. Her monthly usage dropped to about 220 GB without anyone noticing a quality difference.
Choosing the Right Settings for Your Situation
Pulling everything together, here’s the decision flow I run through whenever someone asks me to set up a new device or streaming account.
- If you’re on a metered 5 to 20 GB mobile plan: Video at SD or 720p, audio at 96 kbps. Download over Wi-Fi before leaving home.
- If you have a 50 to 200 GB home cap: Video at 1080p for movies and shows, music at 256 kbps. Reserve 4K for weekends.
- If your home plan is unlimited or 1 TB+: Pick what looks and sounds best on your gear. 4K HDR with Dolby Atmos is worth it on a 4K TV, and lossless audio is great on real speakers.
- If you travel or fly often: Download everything ahead of time. Stream in offline mode at lower quality to keep onboard storage reasonable.
- If you’re a creator on OBS or Streamlabs: Match your stream bitrate to roughly 75 percent of your upload speed. 1080p at 6,000 kbps and audio at 160 kbps AAC is a safe live streaming baseline for most home internet.
The trade-off is always the same. Higher quality costs more data. Lower quality saves data. The job is finding the point where you stop noticing the upgrade and your wallet or data cap starts feeling it. That point is different for everyone, but the numbers in this guide should give you a clear starting position.
Frequently Asked Questions
How to balance audio for streaming?
Start by matching your audio bitrate to your gear and your data plan. Most phones and earbuds sound great at 256 kbps AAC, while audiophile headphones or home speakers benefit from lossless quality at 1,411 kbps or higher. On cellular, drop to 96 kbps Normal quality to save data, and switch back to High or Lossless only on Wi-Fi.
How to get good sound quality when streaming?
Pick a higher audio tier on your music app, use wired or high-quality wireless headphones, and stream over Wi-Fi whenever possible. Most platforms offer High (160 to 320 kbps) or Lossless (1,411 kbps) tiers that keep compression artifacts out of the audio. For live streams, a quality microphone and software noise suppression tools like Krisp or built-in echo cancellation make the biggest difference.
How to optimize streaming quality?
Lower the resolution to match your screen size (720p for phones, 1080p for most TVs), set a fixed bitrate tier instead of auto, and turn off autoplay so you don’t burn data on background streams. Use Wi-Fi for any session over 30 minutes, and download content ahead of time for repeat viewing.
What should my stream settings be?
For watching video, 1080p at about 5 Mbps is the sweet spot for most home connections and laptop screens. For live streaming on OBS or Streamlabs, 1080p at 30 fps with a 6,000 kbps video bitrate and 160 kbps AAC audio is a stable, broadly supported baseline. For music, 256 kbps AAC or higher is the practical floor for good sound quality.
How much data does HD streaming use per hour?
HD video at 720p uses about 1.5 to 2 GB per hour, while Full HD at 1080p uses around 3 GB per hour. 4K UHD can hit 7 GB or more per hour, especially with HDR enabled. Audio uses far less, with Normal quality at 96 kbps using only about 43 MB per hour.
Is streaming or downloading better for data usage?
They use the same data the first time, but downloading wins on re-watches. A single 1080p movie uses about 3 GB whether you stream or download it once, but watching that downloaded file again costs zero additional data. For limited plans, download over Wi-Fi and watch offline.
Final Thoughts: Finding Your Streaming Sweet Spot
Learning how to choose streaming quality settings isn’t about chasing the highest numbers. It’s about picking the smallest tier that still gives you the experience you want, whether that’s a 4K HDR movie night or a Spotify playlist on the train. With the data and audio tiers in this guide, you can match quality to your data cap, your gear, and your taste, and adjust as your situation changes.
1 thought on “How to Choose Streaming Quality Settings to Balance Data and Sound (2026)”