
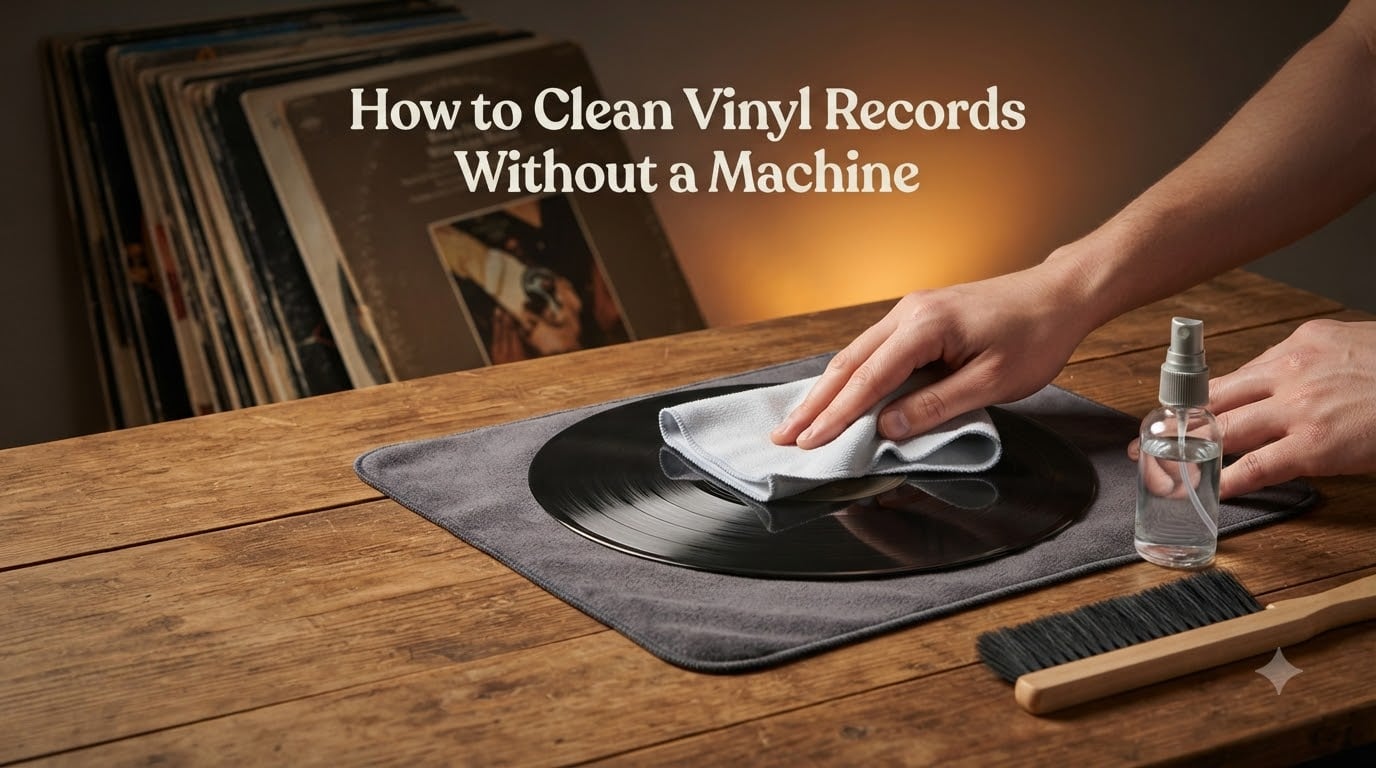
Learning how to clean vinyl records without a machine is one of the most valuable skills any record collector can develop. You do not need a $400 vacuum cleaning machine or a professional ultrasonic bath to keep your collection sounding pristine. With the right technique and a few household supplies, you can remove dust, fingerprints, and even stubborn grime from your records by hand.
I have been cleaning records manually for over a decade, and I have tested just about every method the vinyl community has debated. Some work brilliantly. Others will ruin your records. This guide covers the exact steps I use, including a DIY cleaning solution recipe with precise ratios that most guides skip entirely.
Whether you just pulled a dusty crate find from a thrift store or want to maintain a growing collection, this guide walks you through every method you need. We will cover dry cleaning for quick maintenance, wet cleaning for deep dirt, mold treatment for neglected records, and exactly what household products to avoid at all costs.
Table of Contents
Why Vinyl Records Need Regular Cleaning
Every time you play a record, the stylus drags through microscopic grooves that are thinner than a human hair. Dust, skin oils, and airborne particles settle into those grooves constantly. When the needle hits that debris, you hear it as clicks, pops, and surface noise that buries the music.
Dirt does not just affect sound quality. It causes real damage. abrasive particles get dragged across the groove walls by the stylus, permanently wearing down the vinyl. A dirty record also grinds grit into your needle, which then transfers that damage to every other record you play afterward.
Static electricity makes the problem worse. As a record spins, friction builds up a static charge that actually attracts more dust out of the air. This is why records seem to get dirtier the more you leave them sitting out. Regular cleaning breaks that cycle and keeps both your records and your stylus in good shape.
What You Need: Materials Checklist
You probably already have most of these supplies at home. Here is what you need to clean vinyl records without a machine:
Distilled water – Tap water contains minerals that leave residue in the grooves. Distilled water costs about $1.50 a gallon at any grocery store.
Microfiber cloths – At least two, preferably lint-free. One for cleaning, one for drying.
Carbon fiber brush – For daily dry cleaning before each play. This is the one tool worth buying.
A record cleaning fluid or DIY solution – I will share an exact recipe in the next section.
Soft-bristled brush – A clean, unused paintbrush or a dedicated record brush for working solution into the grooves.
Clean, flat surface – A table covered with a clean microfiber cloth or towel.
That is it. No special machines, no expensive equipment. The most important item on this list is the distilled water, and the reasons for that matter a great deal.
DIY Vinyl Record Cleaning Solution Recipe
Most guides tell you to buy a record cleaning solution but never share a homemade alternative. After testing ratios recommended across vinyl communities on Reddit and audio forums, here is the recipe I trust for manual vinyl cleaning:
The 4-ingredient DIY vinyl cleaning solution:
4 cups distilled water (the base)
1 drop of mild dish soap (Dawn original works well, no additives)
Optional: 1 capful of isopropyl alcohol (91% or higher) for records with oily residue
Mix these in a clean spray bottle. Shake gently before each use. The soap acts as a surfactant that breaks down oils and lifts dirt from the groove walls. Distilled water is the carrier that flushes it all away without leaving mineral deposits behind.
I recommend skipping the alcohol for routine cleaning. While a small amount in a diluted solution will not immediately destroy vinyl, repeated use of alcohol-based cleaners can strip the protective coating from your records over time. Save it for thrift store finds with heavy fingerprint residue, and always rinse with plain distilled water afterward.
How to Clean Vinyl Records Without a Machine: Step-by-Step
This is the core wet cleaning method I use for records that need more than a quick brush. Follow these steps in order for the best results.
Step 1: Start With a Dry Clean
Always remove loose dust before introducing any liquid. Use a carbon fiber brush or a dry microfiber cloth to sweep away surface particles. If you skip this step, you will turn loose dust into wet mud that gets pushed deeper into the grooves.
Hold the brush lightly and follow the grooves in concentric circles, working from the outer edge toward the center label. Never scrub across the grooves.
Step 2: Apply Your Cleaning Solution
Lay the record flat on your clean surface. Spray a small amount of your DIY solution directly onto the record surface, about 3 to 4 sprays evenly distributed. Do not soak the record. You want the surface damp, not pooling with liquid.
Keep all liquid away from the center paper label. The label absorbs moisture and can warp or develop water stains that lower the record’s value.
Step 3: Work the Solution Into the Grooves
Take your soft-bristled brush or a folded microfiber cloth and gently work the solution into the grooves using concentric circular motions. Follow the groove path from the outer edge toward the label, matching the direction the record spins on your turntable.
Apply light pressure only. You are not scrubbing a pan. The surfactant in your solution is doing the heavy lifting. Let it sit for about 30 seconds to break down oils and grime.
Step 4: Wipe Away the Dirty Solution
Use a fresh, dry section of your microfiber cloth to wipe the record clean. Again, work in concentric circles following the grooves. You will likely see a grayish residue on the cloth. That is the dirt and oils coming out of the vinyl.
For heavily soiled records, repeat steps 2 through 4 with fresh solution and a clean cloth section.
Step 5: Rinse With Plain Distilled Water
This step is what separates a good cleaning from a great one. Spray a light mist of plain distilled water on the record and wipe it away with a clean cloth. This removes any soap residue left in the grooves, which could otherwise attract dust and cause surface noise.
Step 6: Air Dry Completely
Stand the record upright in a clean dish rack or record holder and let it air dry for at least 30 minutes. Do not use a hair dryer or heat gun. Do not play the record until it is completely dry to the touch.
Once dry, give it one final pass with your carbon fiber brush to remove any remaining lint, then place it in a clean anti-static inner sleeve.
Dry Cleaning Method: Quick Daily Maintenance
Not every record play requires a full wet cleaning. For day-to-day maintenance, a dry cleaning routine takes about 15 seconds and keeps dust buildup under control.
Before every play, hold a carbon fiber brush lightly against the spinning record on your turntable. Let the record spin a few rotations while the bristles sweep along the grooves. The carbon fibers dissipate static electricity while lifting loose dust away from the surface.
This quick routine prevents the daily accumulation that eventually requires deep cleaning. I do this before every single play session, and it has cut my wet cleaning frequency roughly in half.
One important note on technique: lift the brush off the record while it is still spinning, and gently flick the dust off the bristles. Never drag the brush off the edge while it is in contact with the vinyl, as this can push debris into the lead-in groove.
How to Clean Mold from Vinyl Records
Finding mold on a thrift store record is a common problem that most guides gloss over. Mold appears as fuzzy white, green, or black spots on the record surface. It needs to be treated carefully because disturbing mold spores can spread them to the rest of your collection.
Take the record outside first. This prevents spores from circulating in your home. Wearing a dust mask, use a dry microfiber cloth to gently wipe away the loose mold from the surface. Dispose of that cloth immediately.
Then follow the full wet cleaning method described above, but add one extra step. After applying your cleaning solution, let it sit on the record for a full 2 minutes before wiping. The surfactant needs time to break down the organic material mold leaves behind. Rinse thoroughly with distilled water and allow extra drying time.
For severe mold that has eaten into the vinyl, the damage may be permanent. If you can see pitting or discoloration in the groove walls, that record may never play cleanly again. At that point, it is worth evaluating whether the record is salvageable.
What NOT to Use: Harmful Home Remedies
This section exists because some of the most searched vinyl cleaning questions involve products that will permanently damage records. I have seen the aftermath of every one of these mistakes, and the results are heartbreaking.
Isopropyl Alcohol (Pure or High Concentration)
Pure isopropyl alcohol strips the protective coating from vinyl records. While a tiny amount in a heavily diluted cleaning solution is debated among collectors, spraying straight alcohol on a record will cause long-term damage. The vinyl becomes brittle over time, and cracks can develop along stress points. If you need to remove oily residue, use the dilute recipe from earlier and always rinse with distilled water.
Tap Water
Tap water contains calcium, magnesium, iron, and chlorine. These minerals dry inside the grooves and create a hard deposit that causes worse surface noise than the original dirt. I once tested tap water against distilled water on two identical dirty records, and the tap water copy actually sounded worse after cleaning. Distilled water costs less than two dollars and makes all the difference.
Windex and Glass Cleaners
Window cleaners contain ammonia and other chemicals that break down vinyl compounds. They leave a residue that attracts dust and degrades the record surface. I have seen records cleaned with Windex develop a cloudy haze that cannot be reversed.
WD-40
This one circulates in online forums as a trick for removing stuck-on grime. WD-40 is an oil-based lubricant. It does not clean records. It coats them in petroleum residue that traps every particle of dust permanently and cannot be fully removed. Using WD-40 on a record is essentially throwing it in the trash.
White Vinegar
Vinegar is an acid. Even diluted, it can etch the surface of vinyl records over repeated use. The acidic residue left in the grooves also degrades the stylus tip on subsequent plays. Despite what some cleaning blogs suggest, vinegar belongs in your kitchen, not your record collection.
Rubbing Alcohol Wipes
Pre-moistened alcohol wipes are convenient but contain the same damaging alcohol content as straight isopropyl, along with added fragrances and moisturizers. These additives leave a film in the grooves that no amount of follow-up cleaning can fully remove.
How to Dry and Store Records After Cleaning
Proper drying and storage are just as important as the cleaning itself. A poorly stored clean record will attract dust faster than you can remove it.
After air drying, always return records to anti-static inner sleeves. The paper sleeves that come with most records generate static and shed fibers into the grooves. Replace them with polyethylene or rice paper inner sleeves for a few cents each.
Store records vertically, never stacked flat. Stacking puts weight on the records at the bottom of the pile and can cause warping. Keep them snug enough to stay upright but loose enough to slide out without resistance.
Avoid storing records near heat sources, windows, or exterior walls where temperature and humidity fluctuate. A stable environment around 65 to 70 degrees Fahrenheit with moderate humidity is ideal for vinyl longevity.
How Often Should You Clean Vinyl Records
For records in regular rotation, a dry brush before each play handles day-to-day dust. I recommend a full wet cleaning every 15 to 20 plays, or whenever you notice increased surface noise.
New records should be cleaned before their first play. Manufacturing residue from the pressing plant, known as mold release agent, coats the surface and needs to be removed. Skipping this step on a brand-new record means your stylus drags through factory chemicals on every play until it eventually wears off naturally.
Thrift store finds and used records should always get a full wet cleaning before playing. You have no idea what the previous owner exposed them to, and a thorough clean protects both the record and your stylus.
FAQs
What can I use to clean my vinyl records at home?
You can clean vinyl records at home using distilled water, a few drops of mild dish soap, and a microfiber cloth. Spray a light mist of the solution onto the record, work it into the grooves with concentric circular motions using a soft brush or cloth, wipe clean with a dry microfiber cloth, then rinse with plain distilled water and air dry completely. Always use distilled water, never tap water.
Can WD-40 clean vinyl records?
No, WD-40 should never be used on vinyl records. It is an oil-based lubricant that coats the record in petroleum residue, traps dust permanently in the grooves, and cannot be fully removed. Using WD-40 on a record will effectively ruin it beyond recovery.
Is Windex good for cleaning vinyl records?
No, Windex and other glass cleaners should not be used on vinyl records. They contain ammonia and chemicals that break down vinyl compounds and leave a residue that attracts dust. Records cleaned with Windex can develop a cloudy, irreversible haze on the surface.
Does vinegar clean vinyl records?
No, vinegar should not be used on vinyl records. Vinegar is acidic and can etch the vinyl surface over time. The acidic residue left in the grooves also degrades your stylus tip on future plays. Stick with a mild dish soap and distilled water solution instead.
Conclusion
Cleaning vinyl records without a machine comes down to the right supplies, gentle technique, and consistency. Distilled water, a microfiber cloth, and a simple DIY solution are all you need to keep your collection sounding the way it was meant to. The key is cleaning in concentric motions along the grooves, avoiding harmful household products, and storing your records properly between cleanings. Start with one record, build your confidence with the process, and your vinyl will reward you with years of clean playback.