
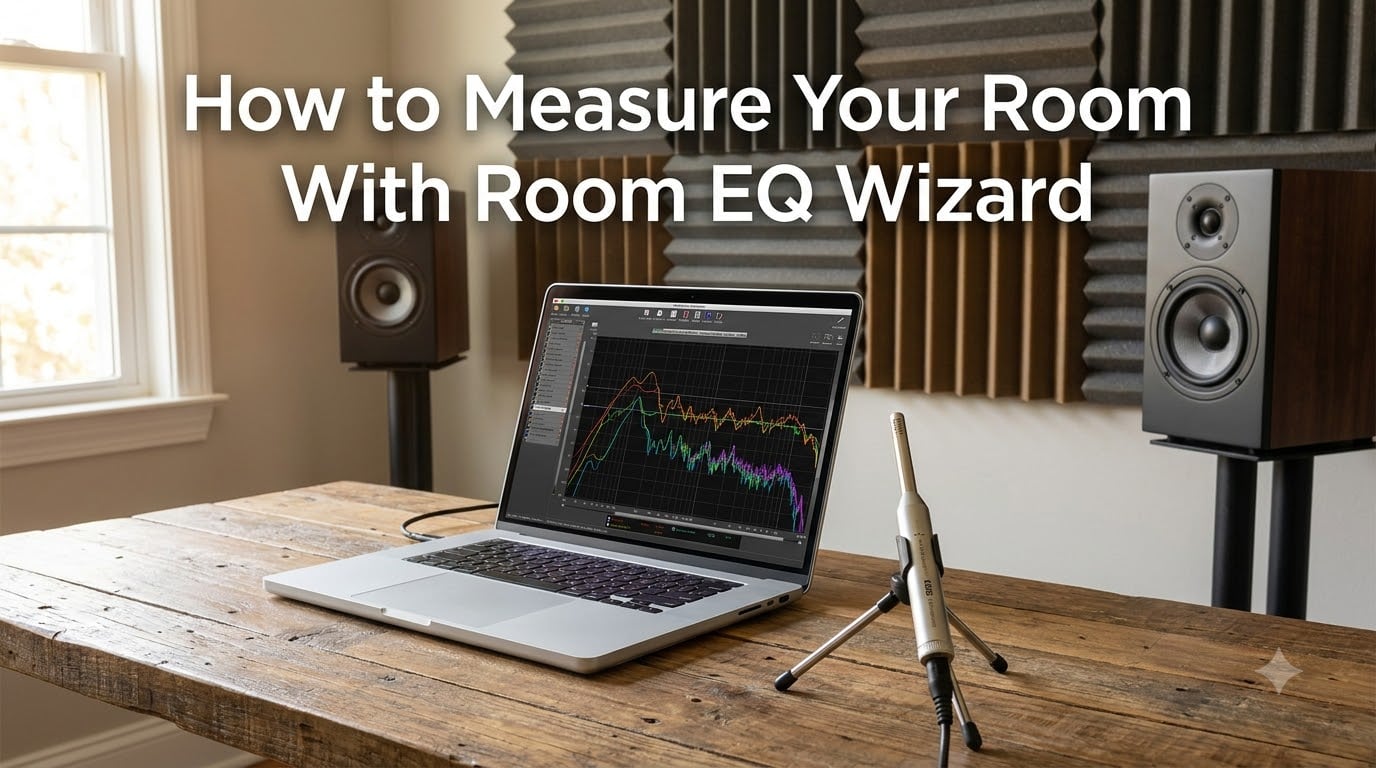
Measuring your room with Room EQ Wizard is the fastest way I know to find out what your speakers are really doing in your space. I run REW in my own home studio and in friends’ listening rooms, and the graphs always surprise people. Bass disappears where you expect it, peaks appear where you’d swear the room was “flat,” and the difference between what your ears tell you and what the measurement shows is usually huge.
This guide walks you through how to measure your room with Room EQ Wizard from scratch. I’ll cover the gear you need, how to install the software, how to run your first sweep, and how to read what comes back. By the end, you’ll be able to spot room modes, nulls, and decay issues on your own.
Table of Contents
What Is Room EQ Wizard and Why You Need It
Room EQ Wizard (REW) is free room acoustics software for measuring frequency response, decay times, and impulse response in any listening space. It runs on Windows, macOS, and Linux, and it does things that cost thousands of dollars in commercial gear.
REW is good. Seriously good. It is the same engine used by audio pros, AV installers, and DIY enthusiasts to design acoustic treatment, place subwoofers, and tune home theater systems. The home theater and audiophile communities treat it as the standard for room analysis.
You need REW because your room changes the sound of your speakers more than the speakers themselves. A pair of perfectly measured monitors can sound boomy, smeared, and uneven in the wrong room. REW shows you exactly where the room is messing with your sound so you can fix it.
Equipment Needed for Room Measurement
Before you open REW, gather the gear. A basic REW setup needs a measurement microphone, an audio interface with phantom power (if you use an analog mic), and cables to hook it all up. A laptop or desktop computer running Windows, macOS, or Linux runs the software itself.
The most common beginner choice is a USB measurement microphone like the miniDSP UMIK-1 or UMIK-2. These plug straight into your computer, skip the audio interface, and ship with a calibration file so REW knows the exact response of that mic.
If you already own an audio interface and an analog measurement mic, that works too. Just make sure your interface can deliver 48V phantom power, has a line or headphone output to feed your speakers, and supports full-duplex recording so REW can play the sweep and capture it at the same time.
Downloading and Installing REW
Go to roomeqwizard.com and click the download link for your operating system. The installer is small and quick. REW is free for personal use, though the author accepts donations if you find it useful.
Run the installer and accept the default install location. On first launch, REW asks you to pick an audio device for input (your microphone) and output (your speakers or headphones). Pick your interface or USB mic from the dropdown and hit OK.
REW also asks for a soundcard calibration file at this stage. If you do not have one, skip it for now. Microphone calibration is more important and we’ll handle that next.
The Science Behind REW Measurements
REW works by playing a logarithmic sine sweep through your speakers and recording what comes back through the microphone. A log sweep is a test tone that rises smoothly from low to high frequency, staying slow at low pitches and speeding up at high pitches so each octave takes the same amount of time.
Once the sweep finishes, REW uses FFT analysis to compare the recorded signal against the original. The result is a transfer function, which is a fancy term for “how the room changed the sound on its way to the mic.” From the transfer function, REW builds a frequency response graph, a waterfall decay chart, and an impulse response.
You don’t need a math degree to use REW. The graphs are designed so you can read them by eye. But knowing that a log sweep gives you both frequency and time-domain data in one shot helps you trust the results when something looks weird.
Setting Up Your Measurement Microphone
Plug your USB mic into your computer, or connect your analog mic to your interface with an XLR cable. Open REW, head to the Preferences panel, and pick the mic as your input device. Set the sample rate to 48 kHz to start.
Next, load the calibration file that came with your microphone. In REW, click the mic calibration icon and load the .txt or .cal file the manufacturer sent you. This step matters because every microphone has a slightly different frequency response, and the calibration file tells REW to compensate for those tiny differences.
Position the mic at ear height in your main listening seat, pointed straight up or angled slightly toward the speakers. A small tripod or a mic stand with a boom arm keeps it steady. Avoid holding the mic in your hand because your body absorbs high frequencies and adds noise to the measurement.
Making Your First Room Measurement: Step-by-Step
This is the part that actually answers the question “how do I get my room measurements.” Follow these steps in order and you’ll have a clean frequency response graph in about ten minutes.
Open REW and click the “Measure” button in the top toolbar.
Set the sweep range from 20 Hz to 20 kHz, which covers the full range of human hearing.
Set the sweep level to around -12 dBFS so the test tone is loud but not clipping.
Choose a target SPL of 75 dB at the listening position for the sweep.
Check the “Use acoustic timing reference” box if you plan to measure multiple spots.
Click “Start” and stay quiet while the sweep plays. Walk away from the mic and do not move.
When the sweep ends, REW shows the frequency response graph, an impulse response, and a distortion panel.
Save the measurement with a clear filename like “LivingRoom_Couch_LeftSpeaker.”
Repeat for the right speaker and any subwoofer, one at a time.
For multiple listening positions, move the mic a foot or two and save each measurement with a unique name.
I always take at least three measurements at the main seat and average them. Averaging smooths out random noise and gives a more honest picture of what the room is doing to the sound.
Understanding Your Measurement Results
The frequency response graph is the most useful view. The horizontal axis shows frequency from low (left) to high (right), and the vertical axis shows level in decibels. A flat line across the graph would mean your room is treating every frequency the same, which almost never happens in real life.
Big dips in the bass usually mean destructive room modes or speaker placement problems. Big peaks in the bass usually mean standing waves bouncing between parallel walls. Both show up as soon as you change mic position or move the speakers around.
The waterfall chart shows how each frequency decays over time. Tall, slow-decaying ridges at low frequencies mean your room rings like a bell after each bass note. Fast-decaying, even colors mean your room is absorbing sound well.
For clearer analysis, change the Y-axis scale to a 100 dB spread and turn on psychoacoustic smoothing or 1/12 octave smoothing. Smoothing averages out tiny peaks and dips that your ear cannot hear, leaving the meaningful acoustic problems front and center.
Speaker Placement and the 38% Rule
The 38% rule is a starting point for speaker placement in rectangular rooms. Measure the length of the front wall behind your speakers, then place each speaker 38% of that distance from the side wall. The listening seat goes 38% of the room length from the front wall, directly between the two speakers.
Why 38%? It tends to put your seat and your speakers in spots that avoid the worst room mode buildups along the room’s length and width. Room modes are resonances that pile up energy at specific low frequencies, and the 38% rule lands you between the strongest of them.
It is a starting point, not a law. After measuring, you can fine-tune placement to smooth out the deepest dips in your frequency response. I usually move each speaker a few inches at a time and re-measure until the bass response looks as even as possible.
Common Measurement Mistakes to Avoid
Skip these mistakes and your measurements will be cleaner on the first try. Most REW beginners hit at least one of these issues, and most of them come down to levels, smoothing, or microphone placement.
Set speakers to “full bandwidth” or “large” before measuring. Crossovers hide bass problems.
Calibrate your output level, the speaker volume, and the mic reading before sweeping.
Use 1/12 octave or psychoacoustic smoothing for music listening analysis.
Keep the mic pointed at the ceiling or the speakers, not the side walls.
Run separate sweeps for each speaker instead of both at once.
Turn off HVAC fans, refrigerators, and anything else that makes noise.
Close doors and windows to avoid measuring outside sounds bleeding in.
And no, REW cannot damage your speakers as long as you keep sweep levels reasonable. The test tones are short and gentle compared to music playback. If anything, REW helps you protect your speakers by showing you the frequencies where distortion is highest.
FAQs
How do I get my room measurements?
Download Room EQ Wizard for free from roomeqwizard.com, connect a USB measurement microphone or analog mic with an audio interface, place the mic at your listening seat, and run a logarithmic sweep from 20 Hz to 20 kHz. REW records the response and shows the frequency response graph, waterfall decay chart, and impulse response in about ten seconds.
Is room EQ wizard good?
Yes, Room EQ Wizard is excellent and is the de facto standard for room acoustic measurement in home theater, audiophile, and pro audio communities. It is free for personal use, runs on Windows, macOS, and Linux, and produces results that match systems costing thousands of dollars.
What is the 38% rule room acoustics?
The 38% rule is a guideline for speaker placement in rectangular rooms. Place each speaker 38% of the front wall length from the nearest side wall, and put your listening seat 38% of the room length from the front wall. This avoids the strongest axial room modes and gives you a smoother starting point for fine-tuning.
Can room EQ wizard damage speakers?
No, REW cannot damage your speakers when used with sensible sweep levels. The logarithmic sweep is short, gentle, and lower in level than typical music playback. Keep sweep levels around 75 dB at the listening position and your speakers will be fine.
Conclusion
You now know how to measure your room with Room EQ Wizard from start to finish. The first measurement is the hardest, and every sweep after that gets easier. Once you have a few clean graphs saved, you can experiment with speaker placement, add acoustic treatment where the graphs tell you to, and re-measure to confirm your changes worked.
Open REW, plug in your mic, and run your first sweep today. Your room has a story to tell, and 2026 is the year you finally hear it.