
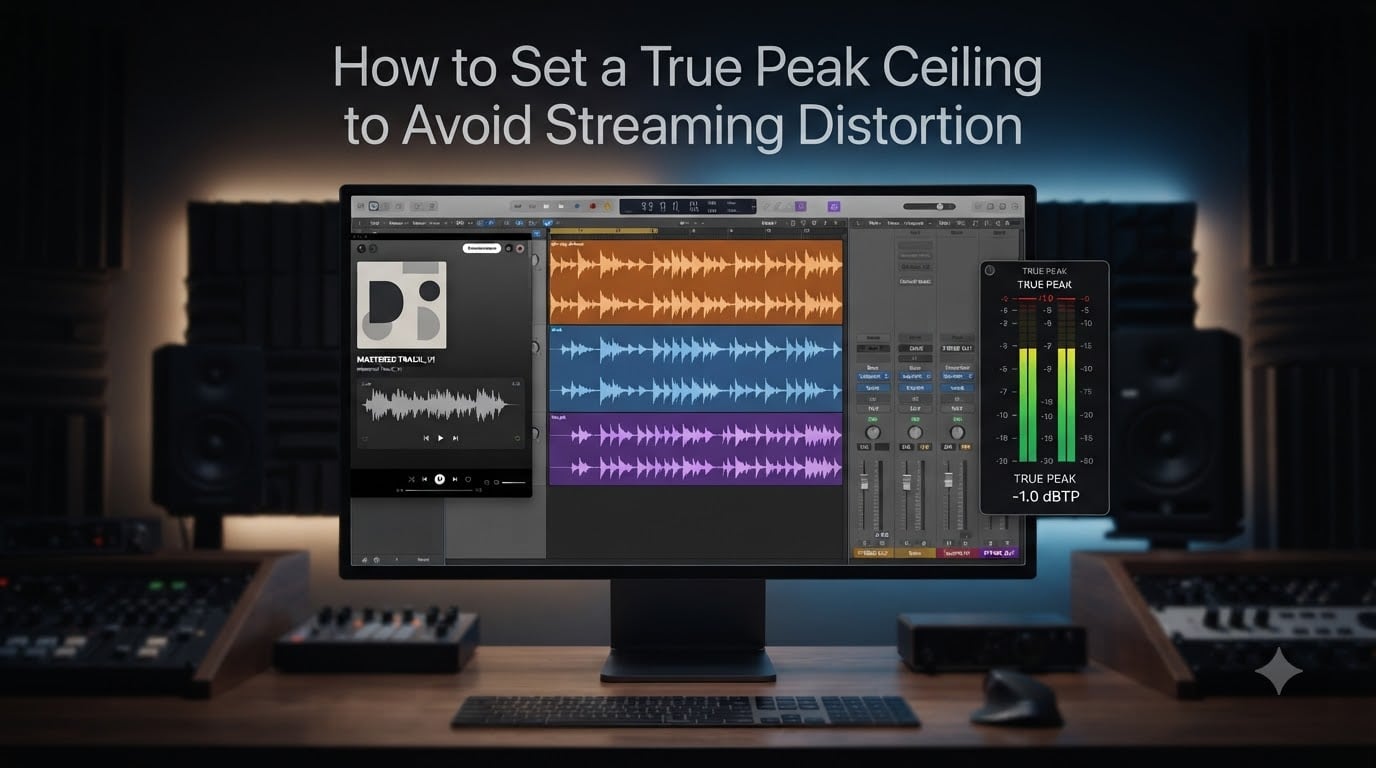
You finish a mix, your meters look clean, and you upload your track to Spotify with confidence. Then you hear it on your phone speaker: a harsh, crackling distortion on every kick drum hit. What went wrong? The answer almost always points to one thing: you never set a proper true peak ceiling to avoid streaming distortion.
This guide walks you through everything you need to know about true peak limiting for streaming platforms in 2026. I will cover what true peak actually measures, why lossy codecs create distortion from masters that look fine on a standard meter, and exactly how to configure your DAW so your music sounds clean on Spotify, Apple Music, YouTube, Tidal, and Amazon Music.
Whether you are mastering your own beats in a bedroom studio or running final QC on a professional release, the principles here apply universally. Let’s break it down step by step.
Table of Contents
What Is a True Peak Ceiling?
A true peak ceiling is the maximum level you set on a limiter or meter to prevent your audio from exceeding a specific true peak value, measured in dBTP (decibels true peak). It acts as a hard cap on the absolute loudest point your waveform can reach, including peaks that exist between digital sample points.
Here is where people get tripped up. Your standard peak meter in your DAW reads dBFS (decibels full scale), which only looks at the amplitude of individual digital samples. A true peak meter uses oversampling to reconstruct the analog waveform and find the actual highest point the signal reaches between those samples. That reconstructed peak can sit several decibels above what your sample peak meter shows.
If you set a regular limiter ceiling to 0 dBFS, the true peak of your audio might actually hit +1 or +2 dBTP without you ever seeing it. When a streaming platform’s encoder processes that signal, those hidden inter-sample peaks get clipped, producing audible distortion. Setting a true peak ceiling at -1.0 dBTP gives the codec enough headroom to do its job without mangling your audio.
What Are Inter-Sample Peaks?
Inter-sample peaks are signal peaks that occur between two digital sample points. They exist because a digital audio system captures a continuous analog waveform as a series of discrete snapshots. When a digital-to-analog converter (DAC) reconstructs that waveform, it draws a smooth curve through your samples. That curve can rise above the level of any individual sample.
Think of two samples sitting at 0.8 and 0.9 on a scale. A simple meter reads 0.9 as the peak. But the reconstructed analog curve connecting those two points might arc up to 1.1 before descending. That hidden 1.1 is your inter-sample peak, and it never shows up on a standard sample peak meter.
This matters enormously for streaming. Spotify uses the Ogg Vorbis codec. Apple Music uses AAC. Both of these lossy formats perform a type of encoding and decoding that can introduce their own inter-sample peaks on top of what your master already contains. A master that sits right at 0 dBFS sample peak might generate +1.5 dBTP after the codec has processed it. Those peaks clip inside the encoder, and the listener hears distortion.
This is why mastering engineers use true peak meters with 4x oversampling minimum. The oversampling reconstructs the inter-sample waveform so you can see and limit those hidden peaks before you ever deliver your files.
Understanding LUFS vs True Peak
LUFS and true peak measure two completely different things, and you need both to deliver a clean master for streaming. LUFS (Loudness Units relative to Full Scale) measures the perceived loudness of your audio averaged over time. True peak measures the absolute maximum instantaneous level of the waveform, including inter-sample peaks.
Think of it this way: LUFS tells you how loud your track feels overall, like an average. True peak tells you the single loudest spike the signal reaches at any microsecond. A track mastered to -14 LUFS could still have a true peak of +0.5 dBTP if you never engaged a true peak limiter. Conversely, a track with a perfect -1.0 dBTP ceiling could sit at -20 LUFS if it is a quiet acoustic recording.
Streaming platforms use both numbers but for different purposes. They use LUFS for loudness normalization, which means they adjust the playback gain of your track so it matches their target loudness alongside other songs. They expect you to deliver a file with true peak headroom so their lossy encoders do not clip during transcoding. Skip either measurement and you risk either losing dynamics or introducing distortion.
The golden rule: aim for the platform’s LUFS target for consistent playback level, and set a true peak ceiling at or below their recommended dBTP to prevent encoder clipping.
Why Streaming Platforms Cause Distortion
Streaming platforms do not play back your original WAV file. They transcode your audio into compressed lossy formats to save bandwidth. Spotify transcodes to Ogg Vorbis at quality levels ranging from q5 (96 kbps) on free mobile to q9 (320 kbps) on premium. Apple Music uses AAC at 256 kbps. YouTube uses Opus and AAC depending on the client.
Every lossy codec works by discarding audio data the algorithm deems inaudible. This process changes the shape of your waveform slightly. Those small changes can push the signal level above 0 dBFS at certain points, creating new peaks that were not there in your original file. If your master is already sitting right at the digital maximum, the codec creates overs that clip during playback.
Loudness normalization adds another layer. Spotify normalizes everything to -14 LUFS using a replay gain algorithm. If your master is louder than -14 LUFS (say -8 LUFS), Spotify turns it down. If your master is quieter, Spotify applies up to 5 dB of positive gain. That gain boost can push a quiet master’s peaks above the clipping threshold after the gain compensation kicks in.
I have seen producers push their masters to -8 LUFS thinking louder is better. After Spotify turns it back down to -14 LUFS, the track ends up at the exact same playback volume as a properly mastered version, but with far less dynamic range and a much higher risk of codec distortion. You sacrifice punch for nothing and risk clipping in the process.
Recommended True Peak Ceiling by Platform
Each major streaming platform publishes its own loudness and true peak targets. Here is the breakdown every mastering engineer should reference before delivery in 2026.
Spotify: Normalizes to -14 LUFS with a true peak ceiling of -1.0 dBTP. Spotify applies gain reduction for louder masters and up to 5 dB of gain boost for quieter tracks.
Apple Music: Normalizes to -16 LUFS using Sound Check with a true peak ceiling of -1.0 dBTP. Apple Digital Masters certification requires -1.0 dBTP compliance for the lossy AAC encode.
YouTube: Normalizes to -14 LUFS with a true peak ceiling of -1.0 dBTP. YouTube uses Opus and AAC codecs that behave similarly to Spotify’s encoders.
Tidal: Normalizes to -14 LUFS with a true peak ceiling of -1.0 dBTP. Tidal also offers lossless tiers but still transcodes for lower bandwidth playback.
Amazon Music: Normalizes to -14 LUFS with a true peak ceiling of -2.0 dBTP. Amazon is the most conservative of the major platforms, requiring an extra decibel of headroom.
SoundCloud: Normalizes to -14 LUFS with a true peak ceiling of -1.0 dBTP. SoundCloud’s encoder is notoriously aggressive, so some engineers prefer -1.5 dBTP for safety.
The universal safe setting across all platforms is -1.0 dBTP. If you deliver exclusively to Amazon Music or want maximum insurance against codec clipping everywhere, drop to -2.0 dBTP. Never exceed -1.0 dBTP for any streaming delivery.
How to Set a True Peak Ceiling to Avoid Streaming Distortion
Setting a true peak ceiling correctly requires three things: a limiter with true peak detection, oversampling enabled, and a reliable true peak meter to verify the result. Here is the step-by-step process that works in any DAW.
Step 1: Add a true peak limiter on your master bus. Place it as the very last plugin in your signal chain. Popular choices include iZotope Ozone Maximizer, FabFilter Pro-L 2, and Waves L3. Make sure the limiter has a dedicated true peak mode, not just sample peak limiting.
Step 2: Enable true peak detection. In Ozone Maximizer, check the True Peak box in the threshold section. In Pro-L 2, set the Output Level mode to True Peak. In Ableton Limiter, there is no native true peak mode, so you will need a third-party plugin or you can use Ableton’s utility with a true peak meter like Youlean Loudness Meter to verify after.
Step 3: Set the ceiling to -1.0 dBTP. Enter -1.0 as your output ceiling. For Amazon Music exclusive releases, set it to -2.0 dBTP. Do not use -0.3 dBTP even though some older tutorials recommend it. That was a standard from the CD era, and it does not leave enough headroom for lossy streaming codecs.
Step 4: Enable oversampling. Set your limiter to 4x oversampling minimum. Some limiters offer 8x or 16x, which gives even more accurate inter-sample peak detection at the cost of CPU. For final master renders, 4x is sufficient. Without oversampling, the true peak detection cannot accurately reconstruct inter-sample peaks.
Step 5: Configure the limiter threshold. Pull the threshold down until you see 2-5 dB of gain reduction on your loudest peaks. More than 5 dB of reduction starts to audibly squash transients. If you need more loudness, fix it earlier in the chain with compression and gain staging, not by crushing the limiter.
Step 6: Render and verify. Bounce your master and load it into a dedicated true peak meter like Youlean Loudness Meter, MeterPlugs Loudness Meter, or the integrated meter in Ozone. Check both the integrated LUFS and the maximum true peak reading. Your true peak should never exceed -1.0 dBTP anywhere in the track.
DAW-specific notes: In Pro Tools, place the limiter on the master track and set the output to -1.0 with true peak enabled. In Logic Pro, use the Adaptive Limiter with the Out Ceiling set to -1.0 and verify with a separate true peak meter since Logic’s built-in limiter is sample-peak only. In Ableton Live, there is no native true peak limiter, so route through a third-party plugin or render at 32-bit float and apply true peak limiting in a separate pass with Ozone or Pro-L 2.
The Double Limiter Technique Explained
The double limiter technique uses two limiters in series on the master bus to achieve both loudness and true peak safety without punishing a single limiter too hard. The first limiter handles the heavy lifting for loudness, and the second acts as a dedicated true peak ceiling.
Set the first limiter as your primary loudness limiter with a sample peak ceiling around -0.5 dBFS. Use moderate gain reduction of 2-4 dB to shape the loudness and density of the master. This is where you dial in the character and punch you want. Do not enable true peak mode on this first limiter.
Place the second limiter immediately after the first. Set its ceiling to -1.0 dBTP with true peak detection and oversampling enabled. Apply zero gain reduction manually. This second limiter should only catch the occasional inter-sample peak that slips through the first limiter, doing maybe 0.5-1 dB of reduction at most.
The advantage is transparency. A single limiter pushed hard for both loudness and true peak catches can introduce audible artifacts on transients, especially snare hits and kick drums. Splitting the workload across two limiters keeps each one working within its comfort zone. Many top mastering engineers use this approach for electronic, hip-hop, and pop genres where loudness targets are aggressive.
Genre-Specific True Peak Considerations
Not every genre needs the same approach to true peak limiting. The content of your audio determines how much risk there is of inter-sample peaks and how hard you can push a limiter before it sounds bad.
Hip-hop and electronic music are the highest risk categories. These genres feature heavy low-frequency content from 808s, sub-bass, and kick drums that generate massive inter-sample peaks. The low frequencies carry enormous energy that standard peak meters consistently underestimate. Set your true peak ceiling to -1.0 dBTP and use at least 4x oversampling. Consider -1.5 dBTP if your 808s or subs are particularly hot.
Classical and acoustic music have very different needs. These genres rely on wide dynamic range, and pushing any limiter hard destroys the natural expression of the performance. You will typically master to -18 to -23 LUFS, which means the limiter barely engages. Set the true peak ceiling to -1.0 dBTP and let it sit there as a safety net. The limiter should be catching occasional fortissimo peaks, not constantly working.
Rock and pop land in the middle. You will usually target -9 to -12 LUFS with a true peak ceiling at -1.0 dBTP. Snare transients and distorted guitars are the main sources of inter-sample peaks in these genres. Use 4x oversampling and watch for limiter pumping on crash cymbal hits.
Ambient and cinematic genres rarely hit the ceiling at all. Master to -20 to -24 LUFS with -1.0 dBTP as a pure safety limiter. The limiter should essentially be idle 99 percent of the time.
Common Mistakes When Setting True Peak Limits
I see the same errors repeated across forums, feedback sessions, and producer communities. Here are the most common mistakes and how to fix them.
Mistake 1: Using -0.3 dBTP instead of -1.0 dBTP. The -0.3 dBTP figure comes from the CD mastering era where no lossy encoding was involved. Streaming platforms transcode your audio through lossy codecs that add their own peaks. Stick with -1.0 dBTP for all streaming delivery to give those codecs enough room.
Mistake 2: Forgetting to enable oversampling. A true peak limiter without oversampling cannot actually detect inter-sample peaks accurately. The whole point of true peak mode is that it uses oversampling to reconstruct the waveform between samples. If oversampling is off, your -1.0 dBTP ceiling is meaningless because the limiter is still only looking at sample peaks.
Mistake 3: Not verifying with an independent meter. Never trust just your limiter’s built-in meter. Render the file and load it into a dedicated true peak meter like Youlean Loudness Meter. I have caught masters that showed -1.0 dBTP on the limiter but actually peaked at -0.4 dBTP when measured independently. Plugin latency compensation and rendering settings can cause discrepancies.
Mistake 4: Pushing the limiter too hard for loudness. If you are pulling 8 dB of gain reduction on your limiter to hit -8 LUFS, you are destroying transients and creating a harsh, fatiguing master. Spotify normalizes everything to -14 LUFS anyway, so that extra loudness gets turned right back down. Fix loudness earlier in the chain with EQ, compression, and clip gain instead of slamming the final limiter.
Mistake 5: Ignoring the bounce format. If you render at 16-bit without dithering, quantization errors can create new peaks that exceed your ceiling. Always render masters at 24-bit or 32-bit float. Apply dither as the very last step only when downsampling to 16-bit for final delivery.
Troubleshooting a Distorted Master
You uploaded your track and it sounds distorted on Spotify. Here is how to diagnose and fix the problem without starting from scratch.
Step 1: Download your track from the platform. Use a tool or extension to grab the streamed audio file. Load it into your DAW and compare it against your original master. If the streamed version has clipping that your original does not, you have confirmed codec-induced inter-sample peak distortion.
Step 2: Run a true peak analysis on your original master. Load the original file into Youlean Loudness Meter or a similar tool. Check the maximum true peak reading. If it reads above -1.0 dBTP, that is your culprit. The streaming codec amplified those hidden peaks into audible clipping.
Step 3: Lower your true peak ceiling and re-render. Set your limiter ceiling to -1.0 dBTP (or -1.5 if the first attempt still clips). Enable oversampling at 4x minimum. Re-bounce the master and verify the true peak reading with an independent meter.
Step 4: Use a codec preview tool. Plugins like Sonnox Codec Toolbox or the codec preview in Ozone let you simulate how your master will sound after Spotify or Apple Music encoding. Run your re-mastered file through the preview and listen for any remaining distortion before you upload.
Step 5: Check your gain staging. If the distortion persists even at -2.0 dBTP, the problem might be upstream. A saturator, clipper, or compressor earlier in the chain might be generating harmonics that create dense peak clusters. Go through your chain plugin by plugin and check each one’s output for hidden peaks.
In my experience, 90 percent of streaming distortion cases resolve with steps 1 through 3. The remaining cases usually involve a clipping plugin somewhere in the signal chain that was never noticed because nobody checked true peak at each stage of the mix.
FAQs
What should my true peak be at LUFS?
Your true peak should be set to -1.0 dBTP regardless of your LUFS target. LUFS and true peak are independent measurements: LUFS controls perceived loudness while true peak prevents clipping. For Spotify and Apple Music, aim for -14 to -16 LUFS integrated with a true peak ceiling of -1.0 dBTP. For Amazon Music, drop to -2.0 dBTP.
How to increase LUFS without distortion?
To increase LUFS without distortion, fix loudness earlier in the signal chain rather than crushing the final limiter. Use compression on individual tracks, parallel compression on drums, and careful EQ to remove low-frequency energy that eats up headroom. Apply clip gain automation to tame peaks before they hit the master bus. Keep your limiter gain reduction under 5 dB and set the true peak ceiling to -1.0 dBTP with oversampling enabled.
Should I use True Peak when mastering?
Yes, you should always use true peak limiting when mastering for streaming delivery. Lossy codecs like Ogg Vorbis on Spotify and AAC on Apple Music create inter-sample peaks that standard sample peak meters cannot detect. Without true peak limiting, your master can exceed 0 dBFS after encoding and cause audible distortion. Enable true peak mode with at least 4x oversampling on your final limiter.
What is the difference between LUFS and true peak?
LUFS measures perceived loudness averaged over time, while true peak measures the absolute maximum instantaneous level of the waveform including inter-sample peaks. LUFS tells you how loud your track feels overall. True peak tells you the single highest point the reconstructed analog signal reaches. Streaming platforms use LUFS for playback normalization and expect true peak headroom to prevent codec clipping.
What is the difference between true peak and intersample peak?
True peak is the measured value of the highest point in your reconstructed audio waveform, expressed in dBTP. An inter-sample peak is the specific phenomenon that causes true peak readings to exceed sample peak readings. Inter-sample peaks occur between digital sample points when the analog waveform is reconstructed by a DAC or lossy codec. True peak is the measurement; inter-sample peaks are what create that measurement.
What is a good true peak for mastering?
A good true peak for mastering for streaming is -1.0 dBTP. This is the standard recommended by Spotify, Apple Music, YouTube, and Tidal. Amazon Music requires -2.0 dBTP. Never exceed -1.0 dBTP for streaming delivery because lossy encoders add their own peaks during transcoding. Use a true peak meter with 4x oversampling to verify the value after rendering.
What is the best true peak for Spotify?
The best true peak for Spotify is -1.0 dBTP. Spotify officially recommends this ceiling to prevent distortion from their Ogg Vorbis encoder. Pair this with an integrated loudness of -14 LUFS to match Spotify’s normalization target and avoid gain reduction or excessive gain boost on your track.
Wrapping Up: Your True Peak Checklist
Setting a true peak ceiling to avoid streaming distortion comes down to a few non-negotiable steps. Enable true peak detection on your final limiter with at least 4x oversampling. Set the ceiling to -1.0 dBTP for Spotify, Apple Music, YouTube, and Tidal, or -2.0 dBTP for Amazon Music. Keep limiter gain reduction under 5 dB to preserve transients.
Render at 24-bit or higher, verify with an independent true peak meter, and run a codec preview before uploading. If you follow these steps on every master, your tracks will sound clean across every streaming platform in 2026 and beyond. No more crackling kicks, no more distorted snares, and no more guessing why your mix sounds different online than it does in your studio.